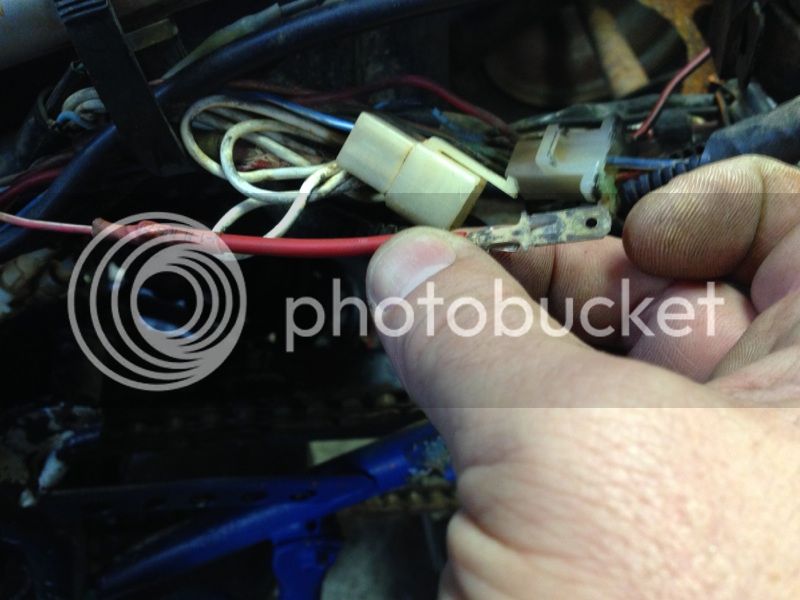
Ya know what I'm finding funny about this Warrior is absolutely NONE of the optional electrical was connected. Both connectors to the switches in the crankcase were dis-connected, they were broken and frayed as if they were pulled and stretched apart (Neutral and Reverse switches) and the Push start connector was broken as well. It's like it all deteriorated or was yanked on and broke the wires. Very strange. I soldiered and shrink wrapped it all back together and added a little wire to the starter solenoid connection because there was some length missing. But it was just very strange since the story was that it ran the last time it was parked. So I am wondering if it ONLY ran and nothing else worked because the wiring was hangin' off it. I am thinking they may have arched the starter solenoid as I have been doing to start it or maybe they stopped riding it once it stopped starting.

You are using an out of date browser. It may not display this or other websites correctly.
You should upgrade or use an alternative browser.
You should upgrade or use an alternative browser.
I got a new Warrior project for free
- Thread starter jwrape
- Start date


Help Support Yamaha Raptor 350 & Warrior Forum:
This site may earn a commission from merchant affiliate
links, including eBay, Amazon, and others.
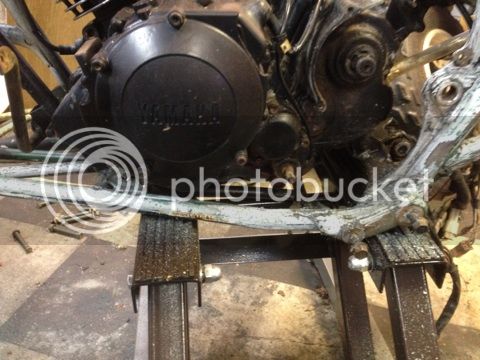
I got a pic of the wiring repair on the Starter solenoid. Glad to say it works now.
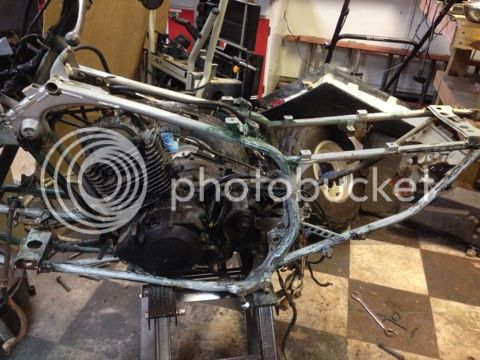
Yesterday I got the ol' girl out and took one last ride up and down the street before I went stripping it down to clean up and repaint and bring it back to a nicer appearance. It ran out really strong and smooth except the unbalance of the wheels and tires hoping me down the road. LOL!
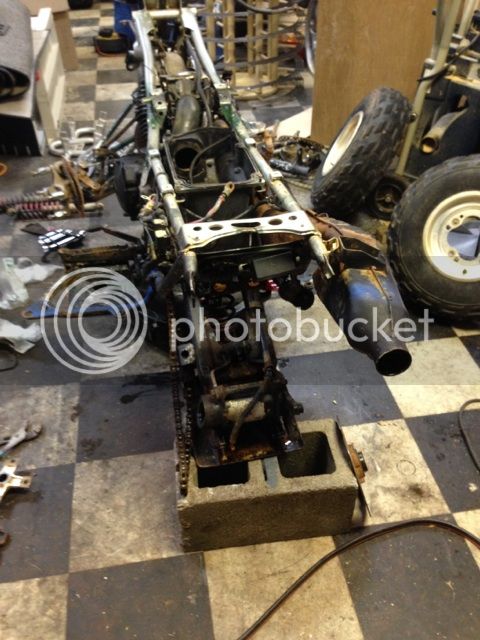
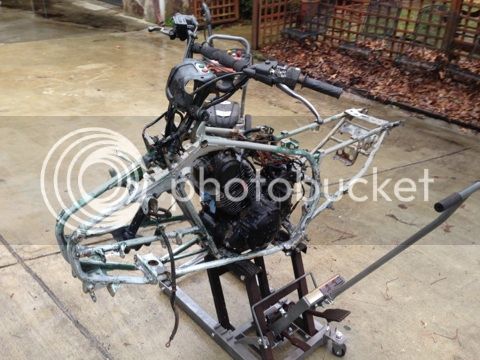
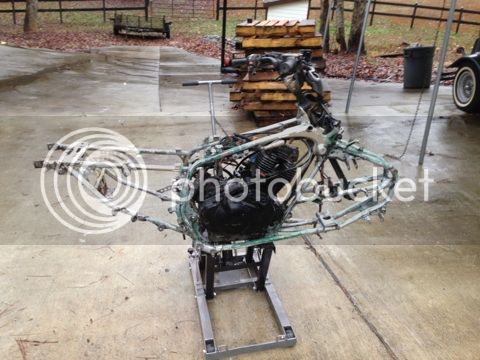
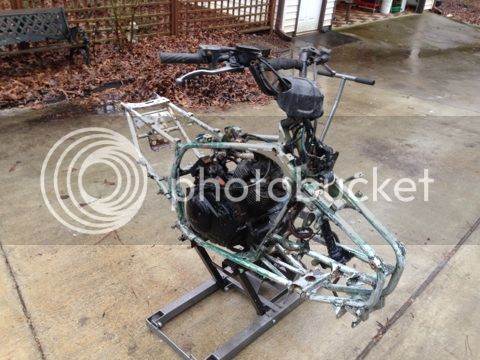
Anyways, here it sits now


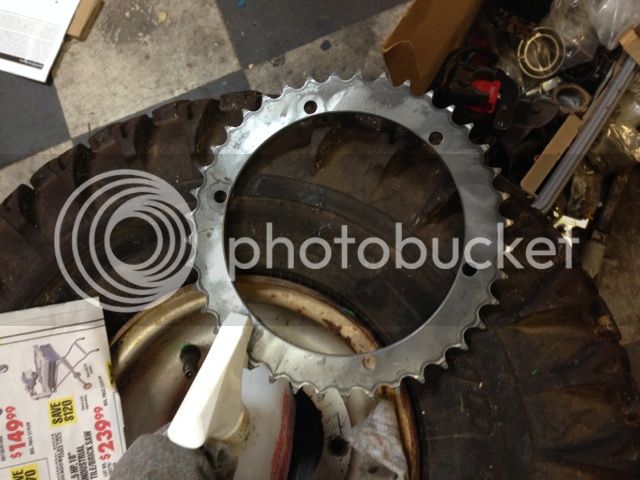
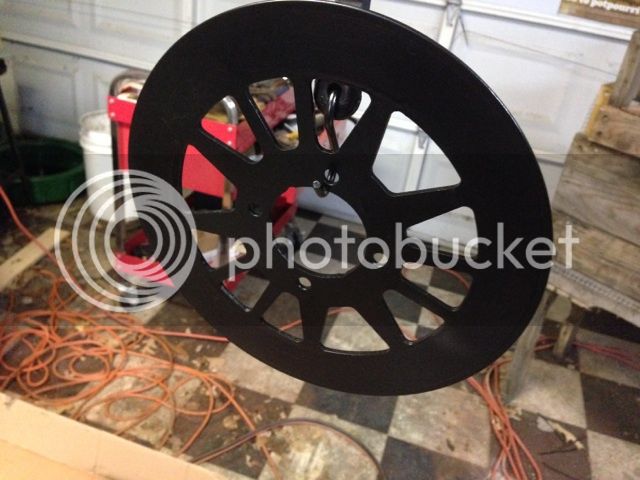
Sprockets look pretty decent tooth wise 14/40


Yesterday I got the ol' girl out and took one last ride up and down the street before I went stripping it down to clean up and repaint and bring it back to a nicer appearance. It ran out really strong and smooth except the unbalance of the wheels and tires hoping me down the road. LOL!
Anyways, here it sits now


Sprockets look pretty decent tooth wise 14/40


Beastmode17
Well-Known Member
I think the orange plastics looked real good, What color have you decided on the frame?? Satin black would look sick with that orange. I love seeing these builds come together.
I think the orange plastics looked real good, What color have you decided on the frame?? Satin black would look sick with that orange. I love seeing these builds come together.
I was originally going back silver but I am buying a sandblaster gun so I am debating what color I should go with. I did paint the silver hood pieces orange, I just didn't like the silver and Would have preferred the Charcoal gray but couldn't find a plastic paint in that color.
I'm not sure what color yet. I painted my 87' Warrior frame all black and I am trying to go a totally different direction with this one but I'm still thinking about it
DeadLastRacing
Well-Known Member
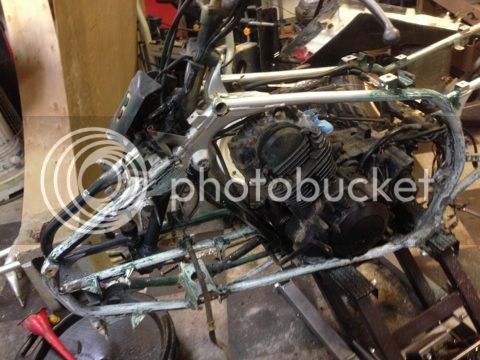
damn that quad was beat on, bad.
damn that quad was beat on, bad.
OH YES! I'm just glad the motor still runs. it's a strong ol' girl
I just started bead blasting the parts yesterday. hopefully it will look better soon
Nothing too new, I have sandblasted a few parts until my blasting gun in my cabinet broke. I am currently waiting on the replacement gun to come in the mail to start cleaning everything up again.
Edit: Oh I did get a 400 ex Rear shock that is gorgeous in condition for $30.12 shipped. It seems to be a little longer than the Warrior one but I like how the reservoir is on the top of the shock.
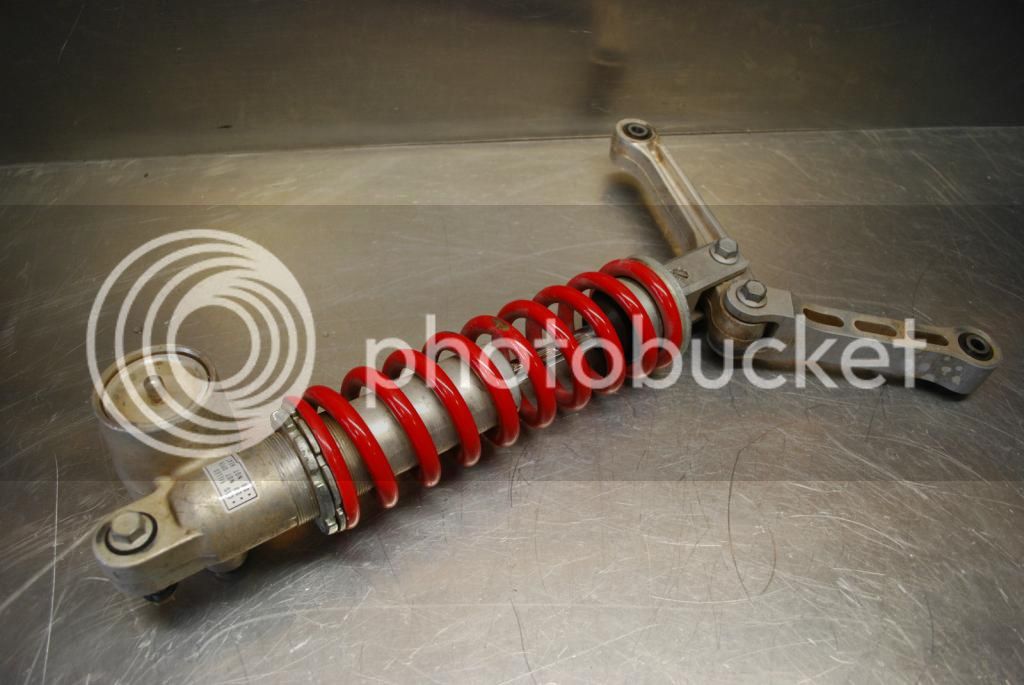
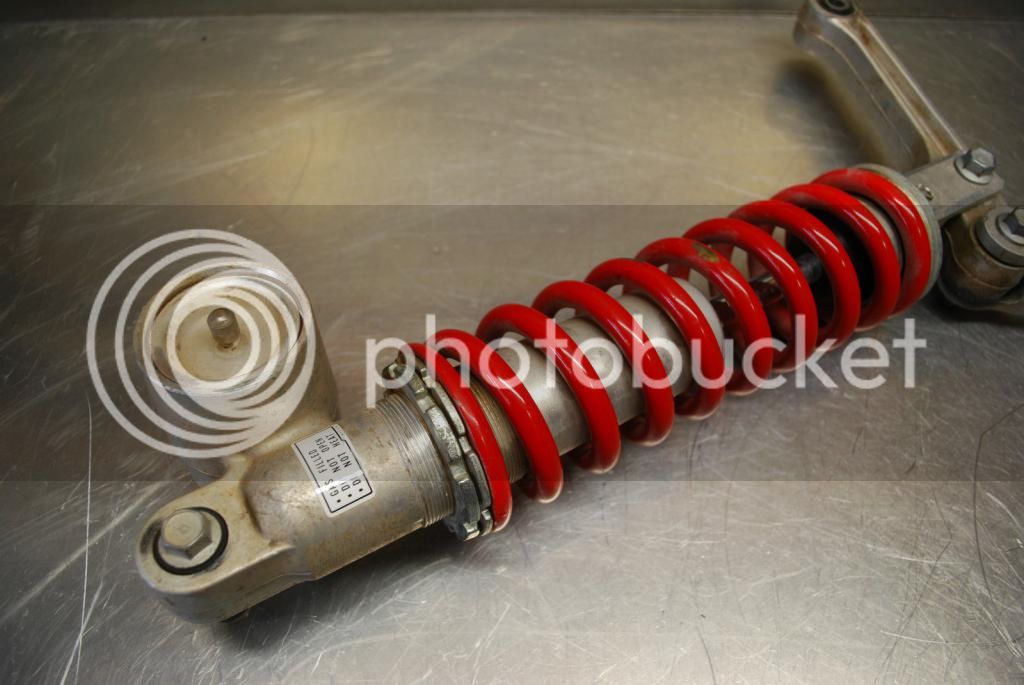
Edit: Oh I did get a 400 ex Rear shock that is gorgeous in condition for $30.12 shipped. It seems to be a little longer than the Warrior one but I like how the reservoir is on the top of the shock.


Last edited:
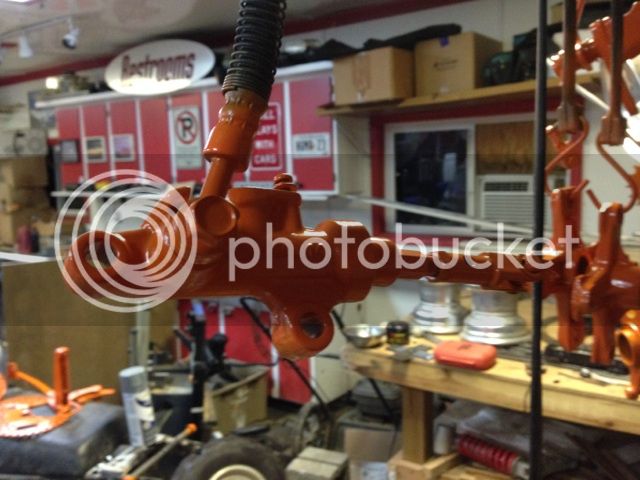
Yesterday I cleaned up a ton of parts. Degreased, Bead Blasted and Bench ground all the parts clean.
Then Primed and painted everything accordingly.
This Orange Rustoleum is CRAZY thick. You can see it floating in the air forever while I paint. Doesn't fall as fast as normal paint and looks like a vinyl coating when it's done. I'm just crossing my fingers that it sticks well. I cleaned Everything with denatured Alcohol, primed and then painted. Fingers Crossed.
Here are the pics of the stuff so far.

Got a new ATV lift from Harbor freight yesterday for $79.99+tax


Then Primed and painted everything accordingly.
This Orange Rustoleum is CRAZY thick. You can see it floating in the air forever while I paint. Doesn't fall as fast as normal paint and looks like a vinyl coating when it's done. I'm just crossing my fingers that it sticks well. I cleaned Everything with denatured Alcohol, primed and then painted. Fingers Crossed.
Here are the pics of the stuff so far.


Got a new ATV lift from Harbor freight yesterday for $79.99+tax


PHANTOMLORD
Well-Known Member
Nice dude but i would have left the brake rotor alone man!!
Nice dude but i would have left the brake rotor alone man!!
I understand what you are saying but I am assuming that the brake pads will take the paint back off where they grab. If not I will remove the paint in the appropriate places.
Yesterday I got a lot done. I got all the appendages prepped and painted.
I also scraped the layers of paint off the left side of the frame. It flaked off pretty easily.
I'm gonna try to hand the frame from the tree outside of my shop so I can easily paint the bottom of the frame.
After the frame I can start reassembly and get it rolling again.
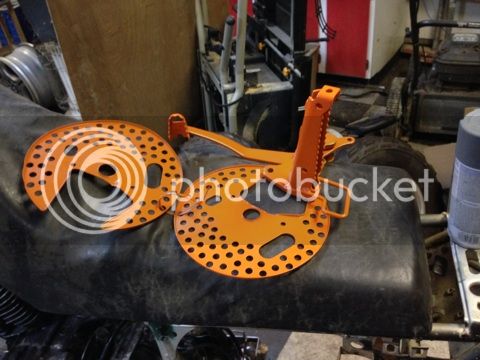
Here are some pics I took yesterday. The frame will be the same color as A-Arms, a flat gunmetal gray. The rest is Orange. It's gonna be bright. LOL! But the way I see it, the parts that I have painted orange, if I decided it's too much then I can pull the specific part back off and strip it and change the color but the gunmetal frame will go with most any other color.
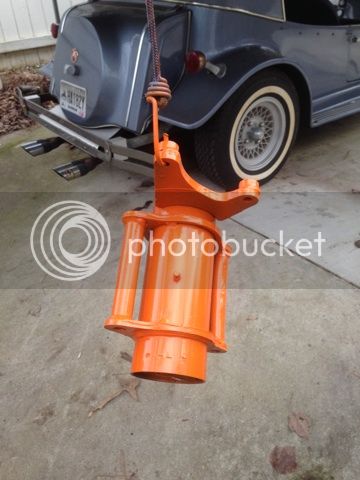
Trailing arm turned out pretty good. It was originally covered in rust up towards the frame, I ground most of it off.

The bearing carrier turned out pretty good and clean.
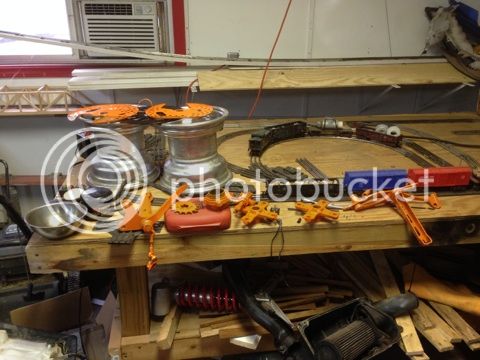
Here is the Gunmetal gray


And all the other bits.
Here is the frame after scraping, notice it's not black, blue and green any more.

I also scraped the layers of paint off the left side of the frame. It flaked off pretty easily.
I'm gonna try to hand the frame from the tree outside of my shop so I can easily paint the bottom of the frame.
After the frame I can start reassembly and get it rolling again.
Here are some pics I took yesterday. The frame will be the same color as A-Arms, a flat gunmetal gray. The rest is Orange. It's gonna be bright. LOL! But the way I see it, the parts that I have painted orange, if I decided it's too much then I can pull the specific part back off and strip it and change the color but the gunmetal frame will go with most any other color.
Trailing arm turned out pretty good. It was originally covered in rust up towards the frame, I ground most of it off.

The bearing carrier turned out pretty good and clean.

Here is the Gunmetal gray


And all the other bits.

Here is the frame after scraping, notice it's not black, blue and green any more.


I got the rest of the frame scraped and coated in paint stripper. Gonna put some more stripper on it today and then pressure wash it with Purple Magic. Should be totally clean today and I will get it all prepped and taped off and start the painting tomorrow once it's dried over night.
I'm stoked to start getting it together.
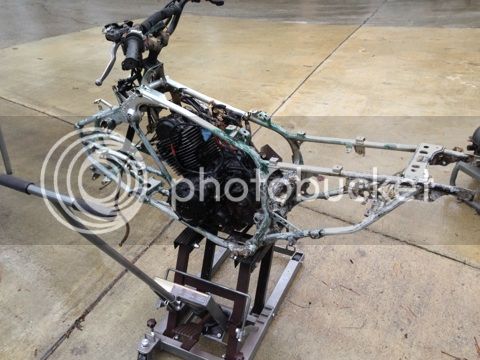
It looks like I found a set of Gold Anodized wheels and used tires. I didn't really want the gold anodized but they will serve as good temporary wheels to get it on all fours and get the Blaster and Honda wheels off it that it came with. To at least make it look like a full fledged Warrior and not a parts bucket. LOL
I have to say, that Orange Paint is SO thick. Like a shell
I'm stoked to start getting it together.
It looks like I found a set of Gold Anodized wheels and used tires. I didn't really want the gold anodized but they will serve as good temporary wheels to get it on all fours and get the Blaster and Honda wheels off it that it came with. To at least make it look like a full fledged Warrior and not a parts bucket. LOL
I have to say, that Orange Paint is SO thick. Like a shell
Last edited:
loui350
Well-Known Member
- Joined
- Dec 31, 2013
- Messages
- 288
- Reaction score
- 0
jwrape im loving this project of yours. Mainly cause im at the stage of painted everything on mine im just alil weary of taking apart stuff like the back axel and the bearing carrier. Is it pretty simple to take apart and put back together correctly?
Sent from my GT-P3113 using Tapatalk
Sent from my GT-P3113 using Tapatalk
jwrape im loving this project of yours. Mainly cause im at the stage of painted everything on mine im just alil weary of taking apart stuff like the back axel and the bearing carrier. Is it pretty simple to take apart and put back together correctly?
Sent from my GT-P3113 using Tapatalk
Yea, It's not hard at all really. When you start taking it apart you'll see it's a very simple assembly of minimal parts. Nothing special in there but the bearings and seals. It can get messy with the grease inside the carrier. I got it all over me when it started to drip out while punching out the bearings on my vise.
When I dis-assemble things I usually take pics of things I might forget a long the way. For me that's a must, I have a brain tumor that affects short term memory to a degree, it always helps AND I like to put the bolts and clips back into their places after I pull it apart as much as possible until it goes back together. If you look closely at my frame all the bolts are sticking out of the frame to keep them correctly placed. As I re-work the frame I have been taking each bolts out and taking it to the wire wheel and cleaning them up and removing rust as I go so when I paint the frame I will also paint the bolt heads and everything matches or contrast the parts that they hold on.
Hopefully by next week there will be some re-assembly progress.
My biggest concern is making sure the paint sticks well by cleaning, cleaning and cleaning some more. Get all the grease and dirt off before I go spraying. So far, so good. Knock on wood.
loui350
Well-Known Member
- Joined
- Dec 31, 2013
- Messages
- 288
- Reaction score
- 0
Thanks man ive been looking it up how to do it. As you said it is pretty simple. I might put some before and after pics of mine up when its finished, might be awhile tho because of the freezing cold weather.
Sent from my GT-P3113 using Tapatalk
Sent from my GT-P3113 using Tapatalk
Sprayed it all over with Purple Magic and then pressure washed EVERYTHING! It's VERY clean now.
Then I hung the frame from the ceiling in my shop and wrapped the engine.
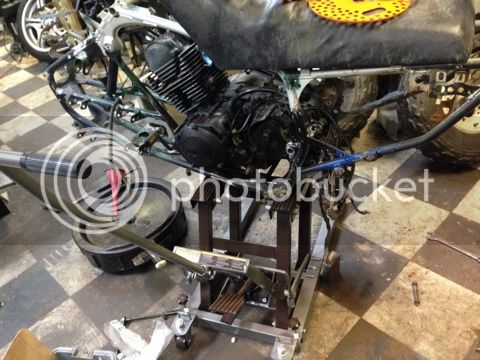
I know there is always someone that gets onto me about not removing the engine to paint but I don't really see the need when I can paint all around it with ease and paint everything I would if I removed it. 0

The seat mounting cross member was already bent a little before I hung the frame, I will bend it back soon
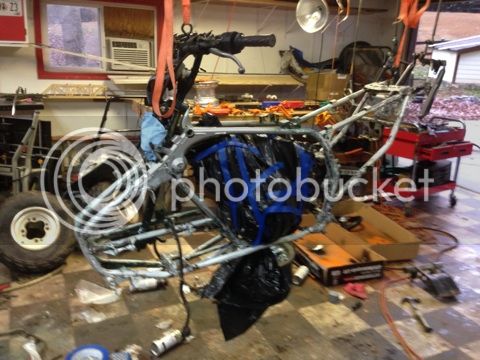
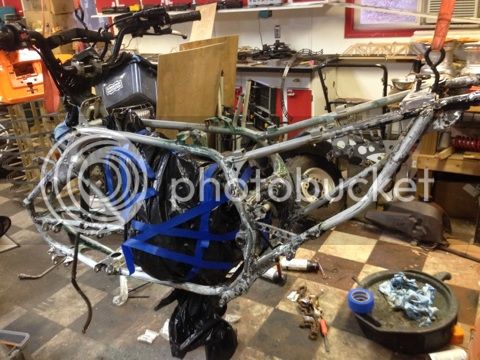
I hung it all night with a ceramic heater blowing on it to help dry it out.
Hopefully I will start painting today when I get home. I have spread out a tarp under it already and as long as it's dried out, painting is in the near future and of course I will get pics of it.


Then I hung the frame from the ceiling in my shop and wrapped the engine.
I know there is always someone that gets onto me about not removing the engine to paint but I don't really see the need when I can paint all around it with ease and paint everything I would if I removed it. 0

The seat mounting cross member was already bent a little before I hung the frame, I will bend it back soon


I hung it all night with a ceramic heater blowing on it to help dry it out.
Hopefully I will start painting today when I get home. I have spread out a tarp under it already and as long as it's dried out, painting is in the near future and of course I will get pics of it.
Latest posts
-
 Mistress updates she miving along knocking out alot of the small things
- Latest: The_Mistress $$$
-
-
 Differences between first gen and second gen warriors
- Latest: beastlywarrior228
-

-

-
-
-
