2xtreme
Well-Known Member
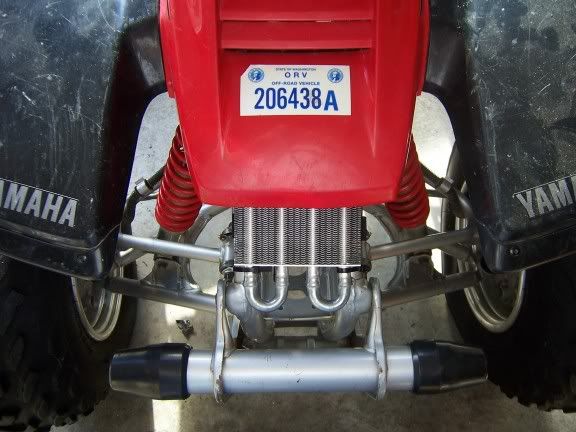
Yes the Hayden however will stick out a little on the bottom and u need to bend 2 or 3 fins to get around the plastic mounting brackets
Can you post pics of it installed, withou the hood of course?


Yes the Hayden however will stick out a little on the bottom and u need to bend 2 or 3 fins to get around the plastic mounting brackets

Are you sure that Hayden cooler fits under the hood???
I looked under there and there doesn't appear to be much room.
With the stock fenders you have to cut out some of the plastic that connects the 2 fenders together to make room for the cooler.
...Aftermarket fenders don't even have the piece connecting in the middle to begin with.
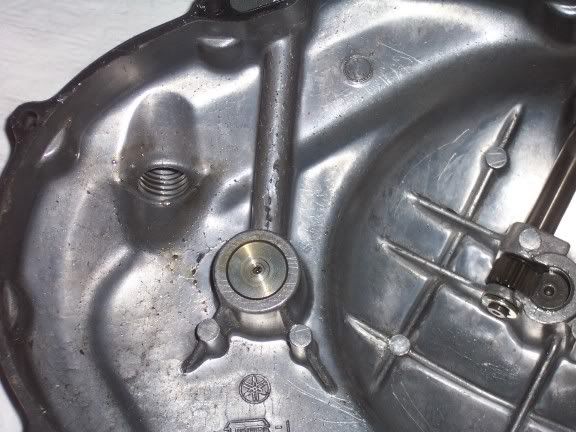
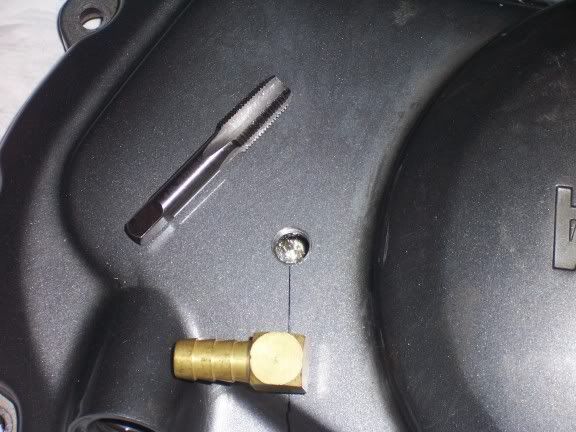
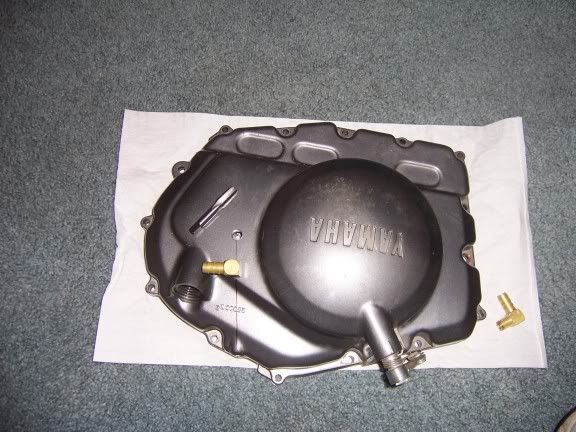
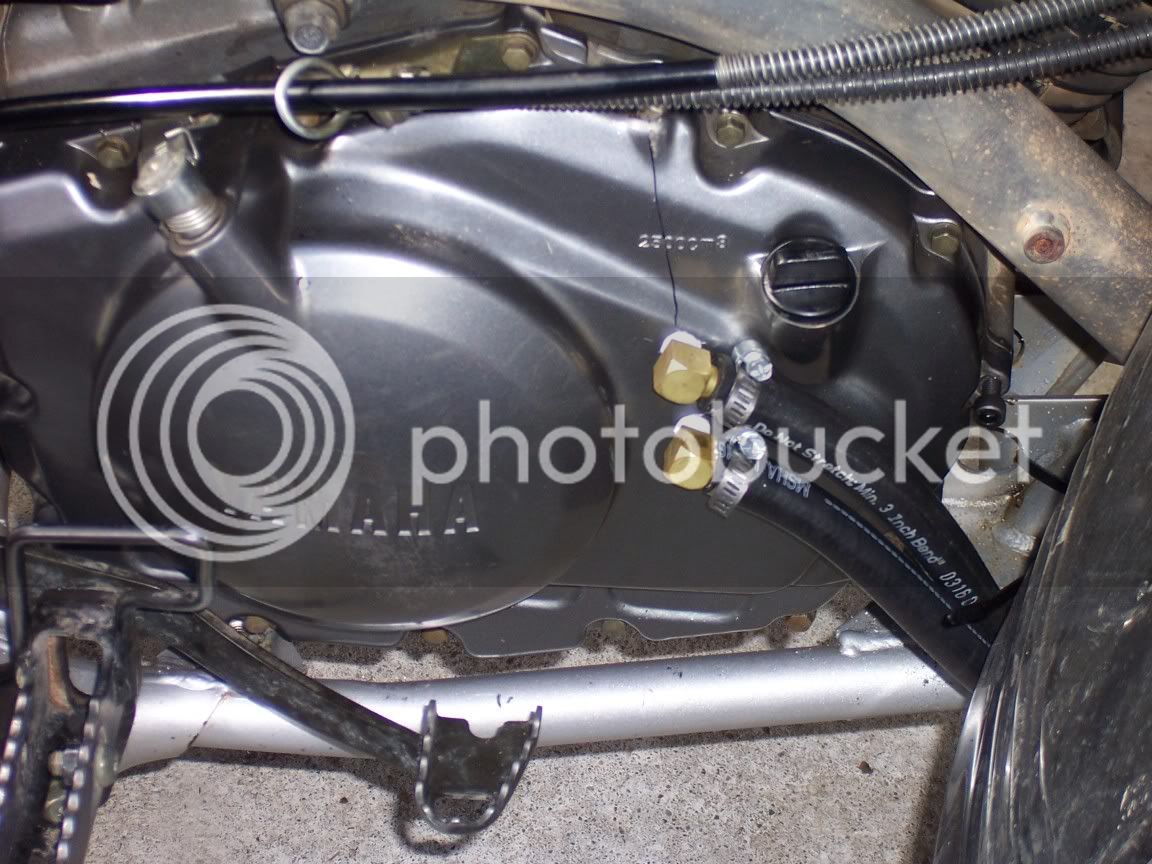
I ended going to autozone and getting Quiksteel. It worked pretty well just clean the area real good. Use some sort of solvent or alcohol. I smashed a ball of it in the top hole and worked it to where it plugged up the galley with a flat tip screwdriver. I let it cure over night, re-ran the tap down and up a few times. Cleaned it out and now everything is ready.

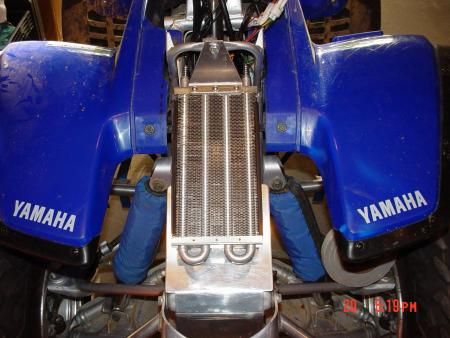
I would think using four zipties would be much more easy then dragging out the welding equipment, setting it up, and welding the cooler to the frame...
my EX has an oil cooler")
my EX has an oil cooler
Enter your email address to join: