Yamaha Raptor 350 & Warrior Forum

Help Support Yamaha Raptor 350 & Warrior Forum:

This site may earn a commission from merchant affiliate links, including eBay, Amazon, and others.
@YAMAHAULER and @lbjamm Thanks for the compliments much appreciated.

Yea I was looking at the pics it would be tight trying to get them air shrouds in..But if your handy with a dremel or something of that nature Im sure you can make the work..They would look sick!! You buy far have one of the best looking raptor here beast! Sweet job!
 
Thanks Jeff, I got a dremel, The headlight brackets are quite large on these, You mounted yours to the gas tank mounts and they look awesome. If im not mistaking I might be able to take the brackets off and mount them on the existing holes then mount the headlights back in place, I think that's how they are mounted on the YFZs
 
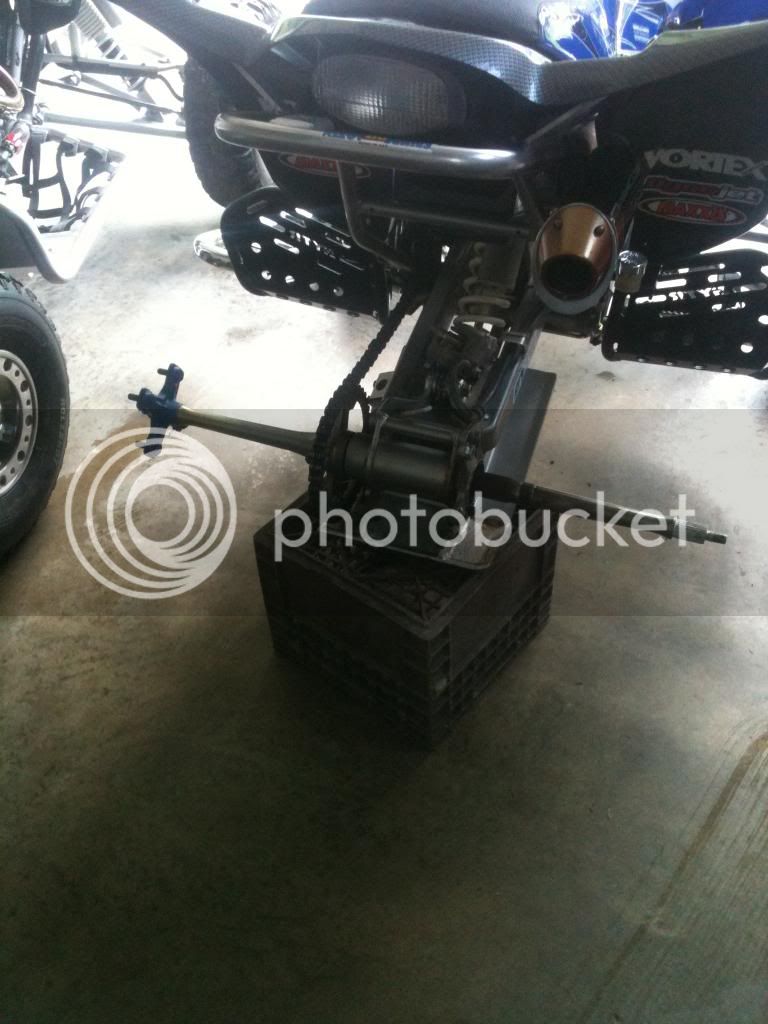
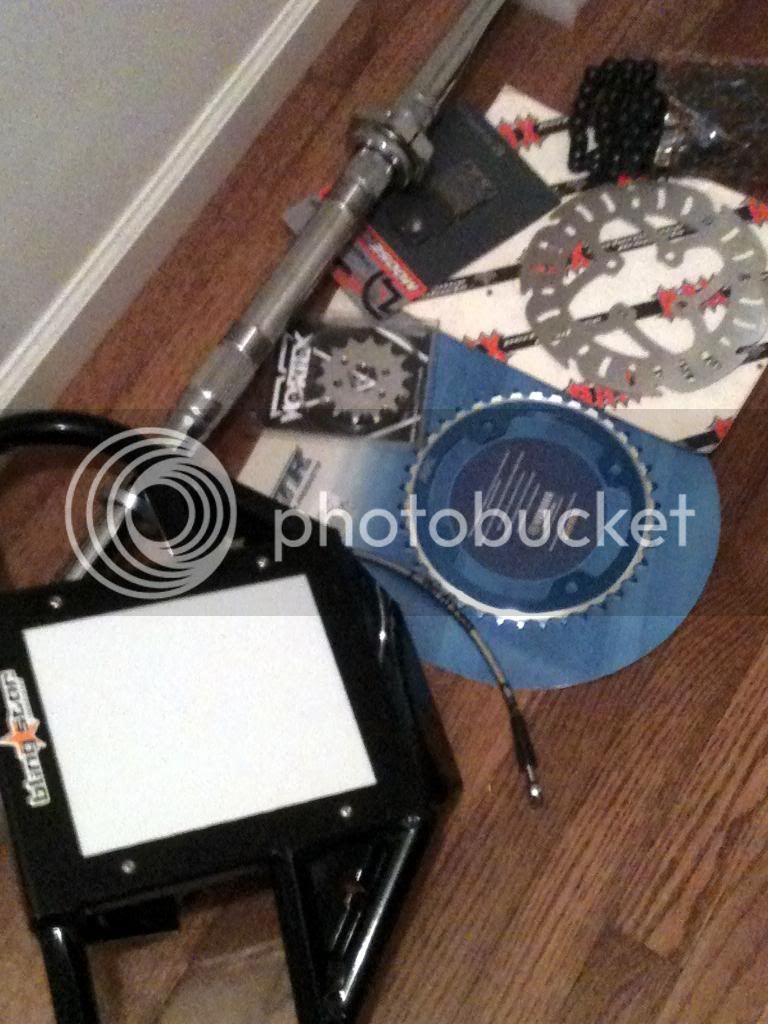
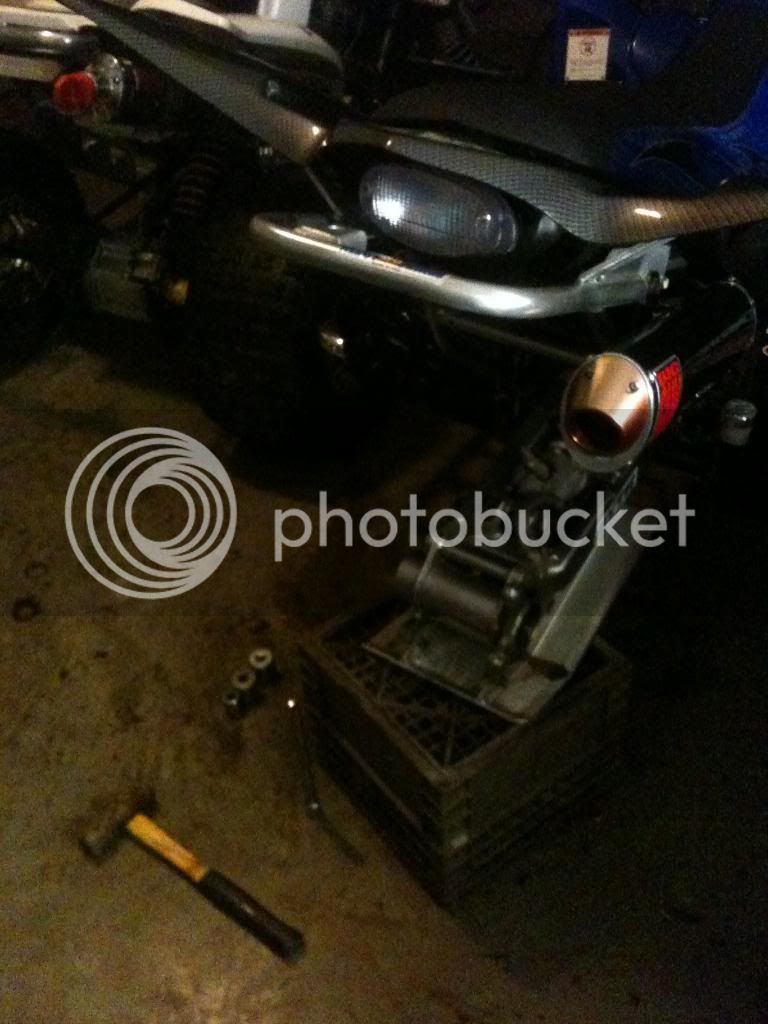
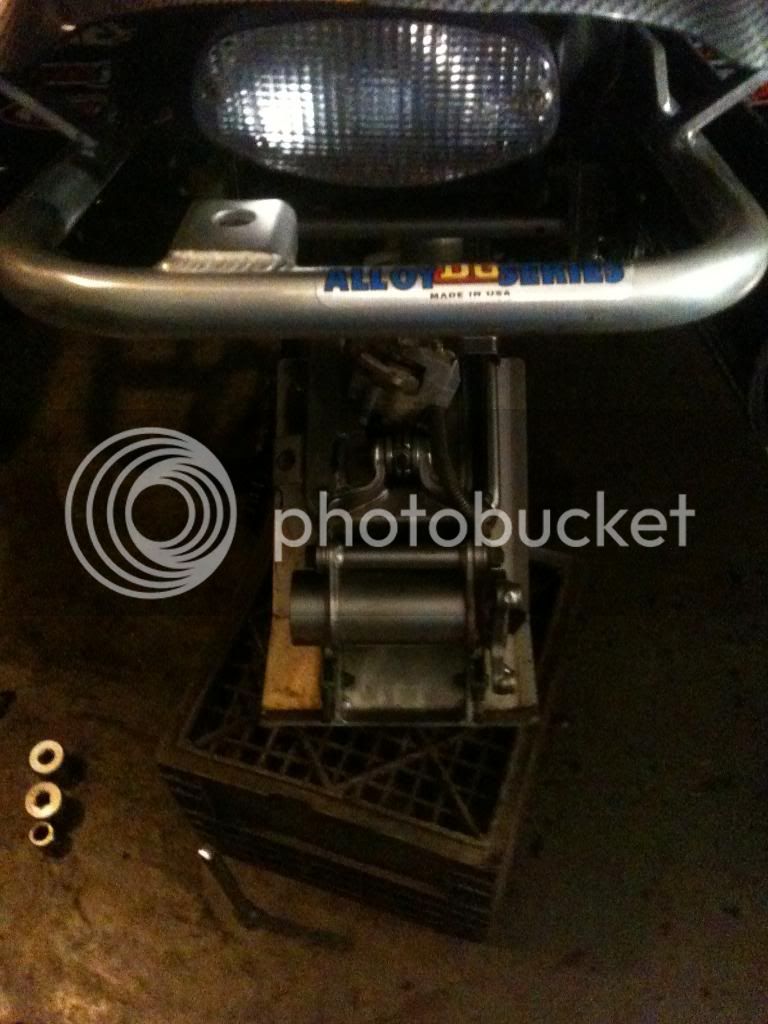
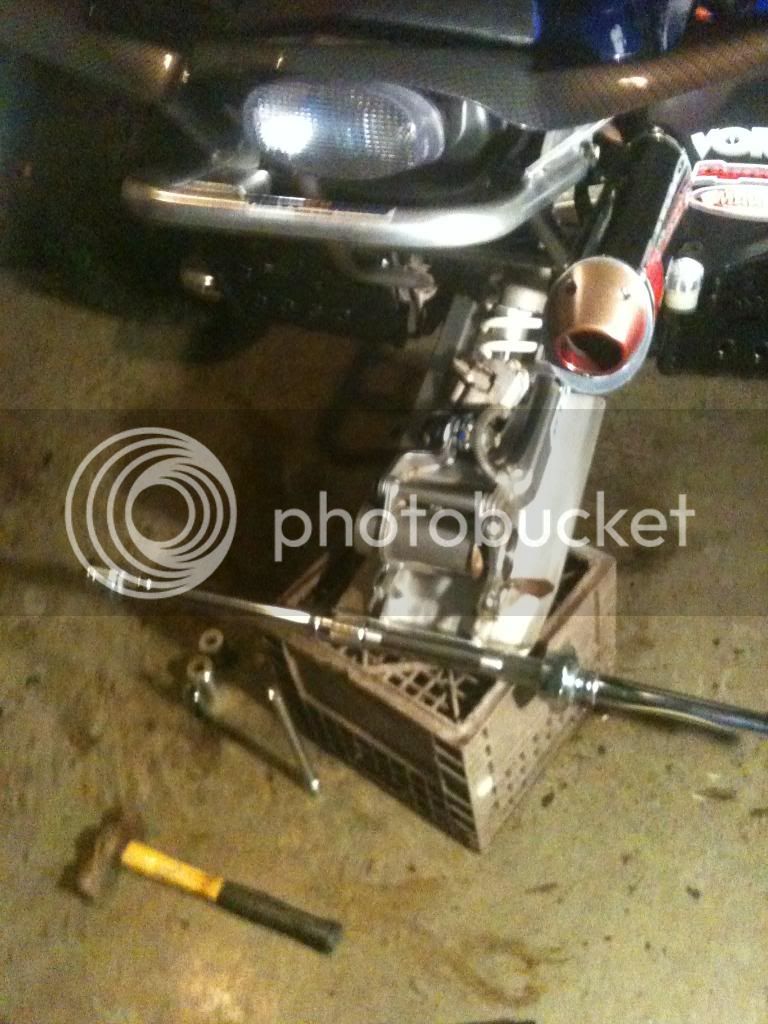
Lately Ive been so busy with work I cant find the time to do anything to this build however I found time this week to install some new parts. Since im a pics or shut up kinda guy heres the newest progress. New axle, bearings, sprockets, rotor, line, chain, and tappin my carrier for a grease zerk.


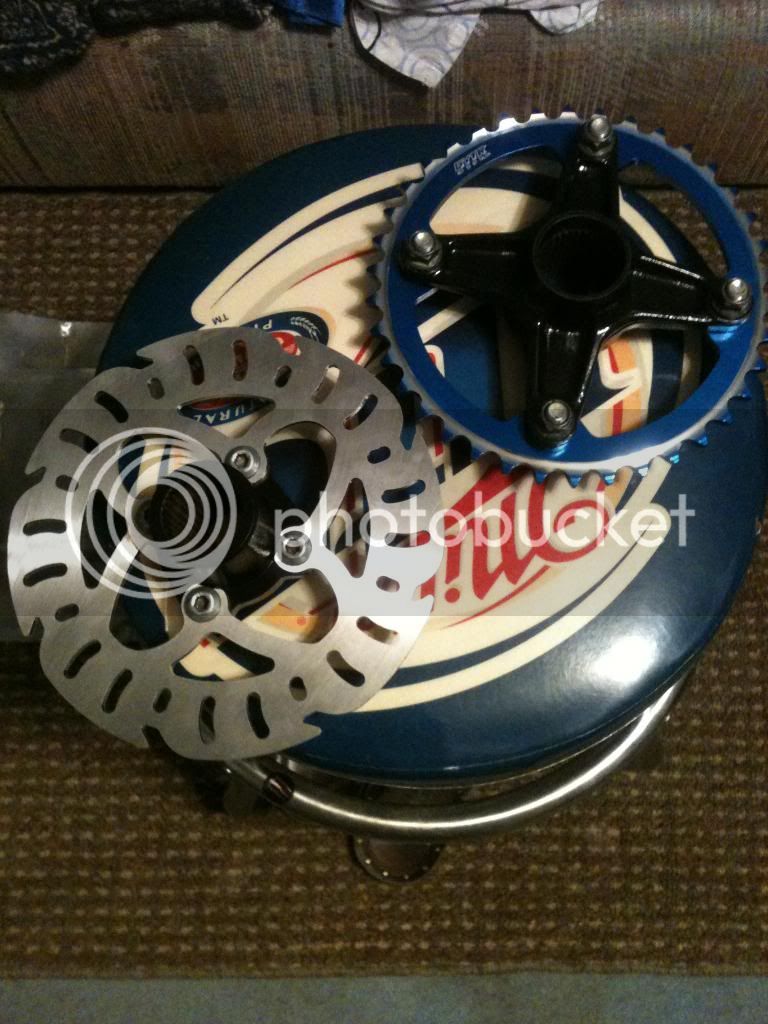
Heres the new parts that are going on


I keep getting asked what kind of rotor I have and if its a Wave, Its a RAX sabre. Heres a closer look at the rotor. The one in the front towards the front is the RAX and the one in at the back of the quad is a wave for a 660.

Process begins


Bearings should be here by tomorrow, I got a 6mm zerk for the carrier and the axle is ready to be installed. Also going to paint a few parts such as the Sprocket hub, Rotor hub and respray the wheel hubs.
 
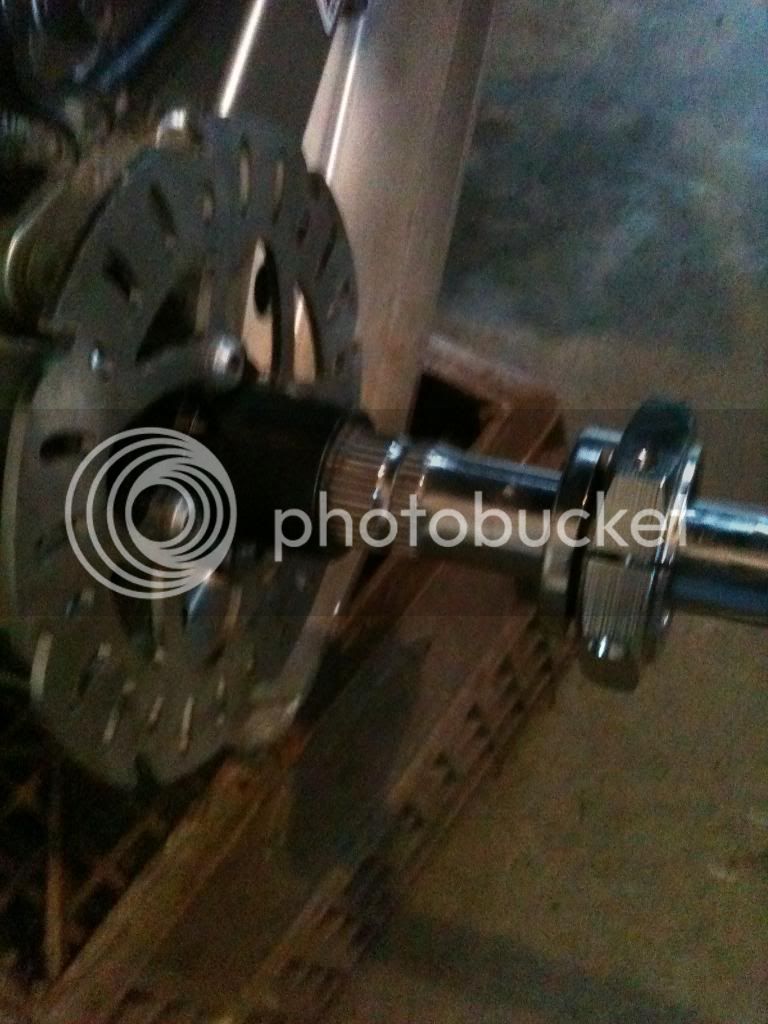
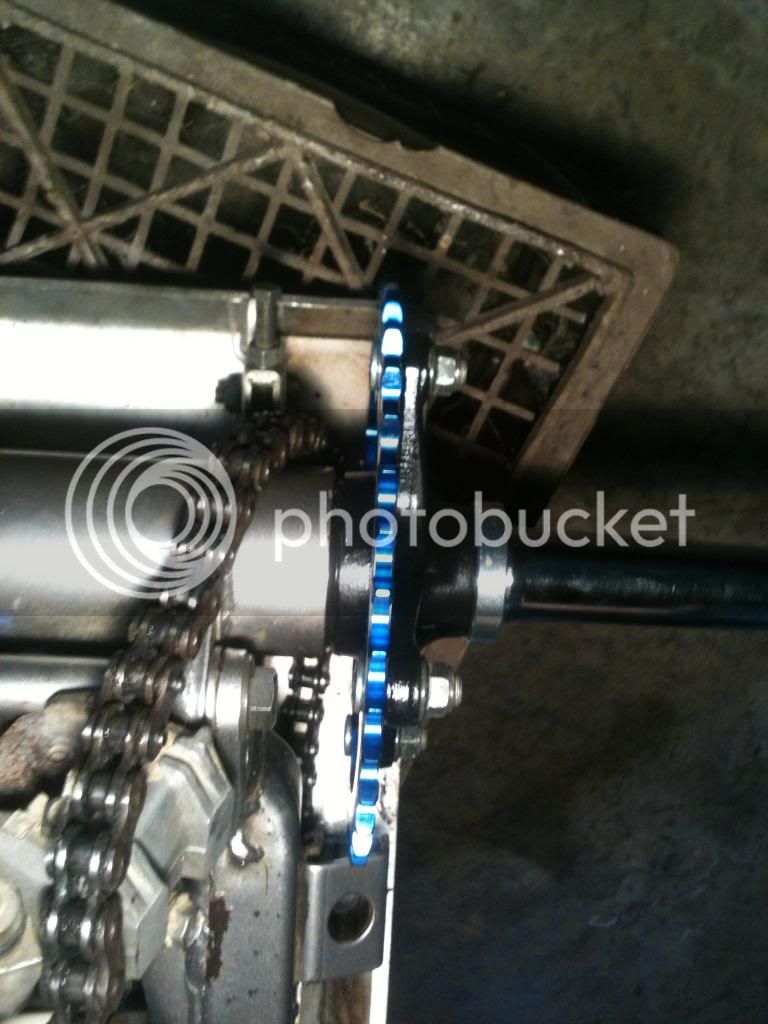
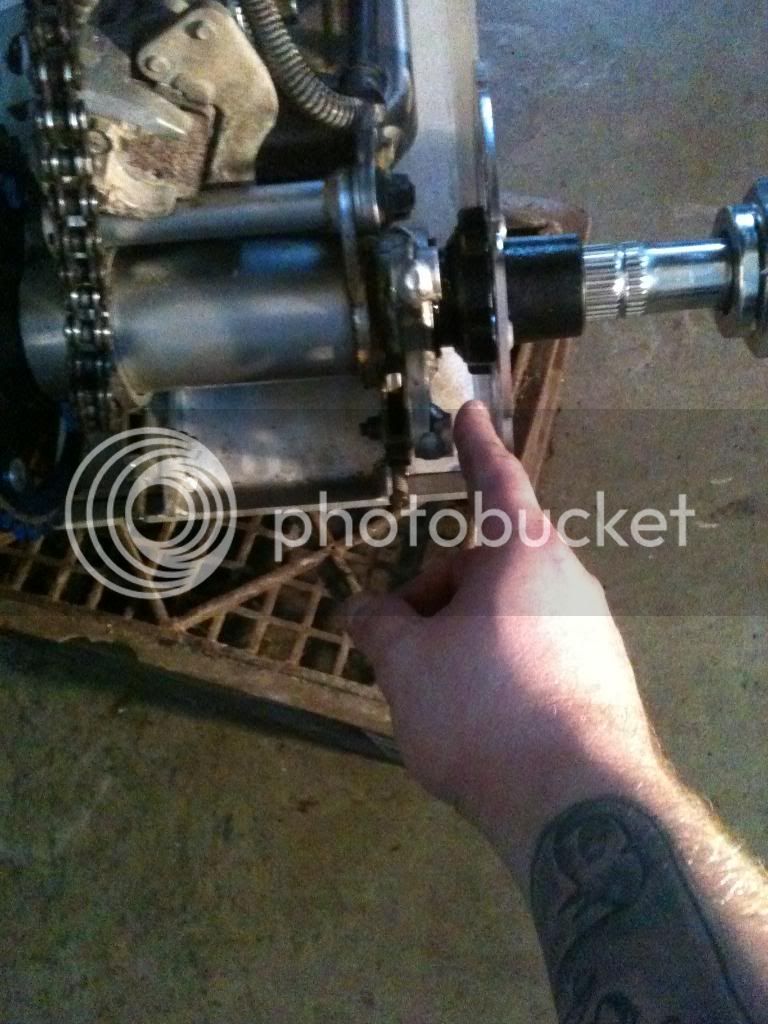
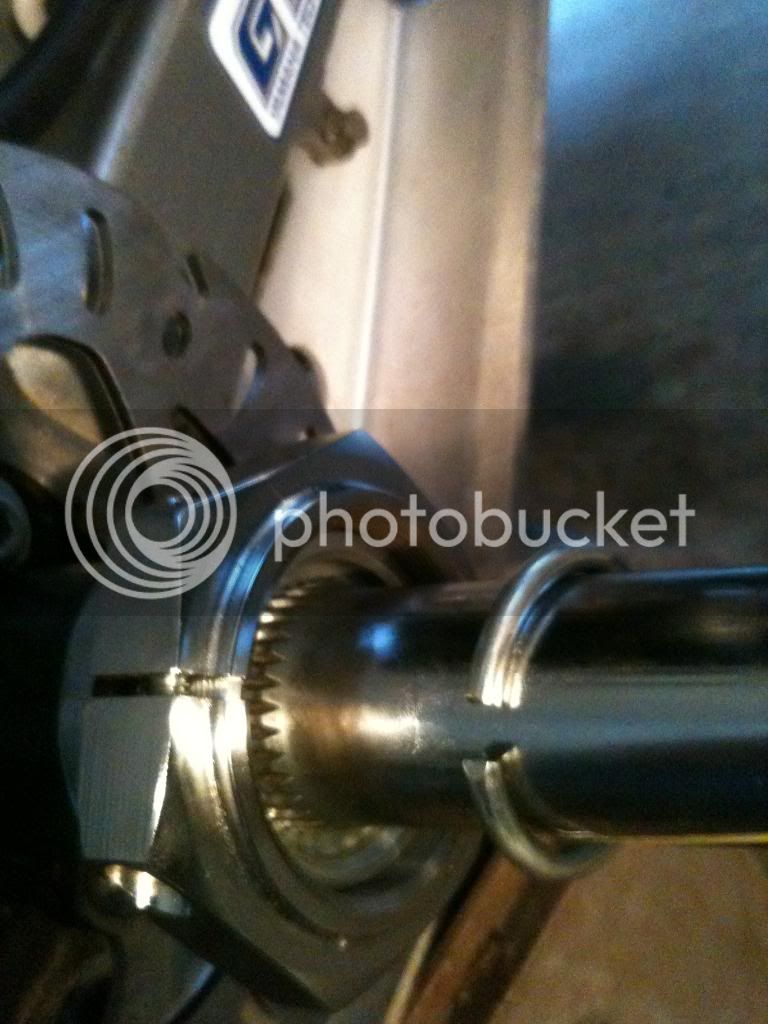
Update, My bearings arrived Saturday and I put them in along with the axle. I painted my sprocket hub and rotor hub, And installed the new parts. Everything was going smooth until I came to the 3 piece locknut and rotor hub, I have a few questions about this any info will be greatly appreciated. My rotor hub wont go inside the seal, The sprocket side went in fine but the other side no luck. I don't have enough room for the c clip to set in groove on the axle so therefore I cannot tighten the 3 piece nut. Im gonna add some pics of the update and a few with me pointing to the gap between the carrier and hub.


Heres the pic of the gap

 
Thanks so much for the fast reply, On a warrior it does go there but on a 350 Raptor its opposite here are the instructions.
 
do you have the axle in backwards? the G force sticker should be on the brake disk side
 
My bearing are seated all the way in my carrier and my seals are flush with the outside, But when I go to put the axle nut theres not enough room for the c clip. I checked the axle number and instruction numbers both match to a 350 raptor so this is the right axle. The instructions say slide the rotor hub into place on the right side followed by the 3 piece locking nut, (internal part of locking nut against c clip).
 
Guys I appreciate all the help, I got it in now. I wasn't pushing hard enough to seat the hub.

I was going to suggest that. Glad you got it. I hate when I get new parts and it seems like they aren't going to work. I think "I screwed up" lol.
 
@lbjamm I was worried, LOL no joke. I even pulled it back out and read the numbers on it. @Jeff buddy thanks for the pics I actually used some off your progress log to get a good idea but I couldn't zoom in enough. I got a another idea Hiper just released some White rings for there Tech3s and CF1s Im thinking about switchin the black rings to the new white rings. And as for the YFZ Blingstar bumper in the parts pic, its a no go without a CNC machine shop and where im from they are none, Midway is way to busy to make me some brackets so until then Im just gonna leave ol faithful on. Pics will be uploaded sometime tonight or tomorrow of the rearend.
 
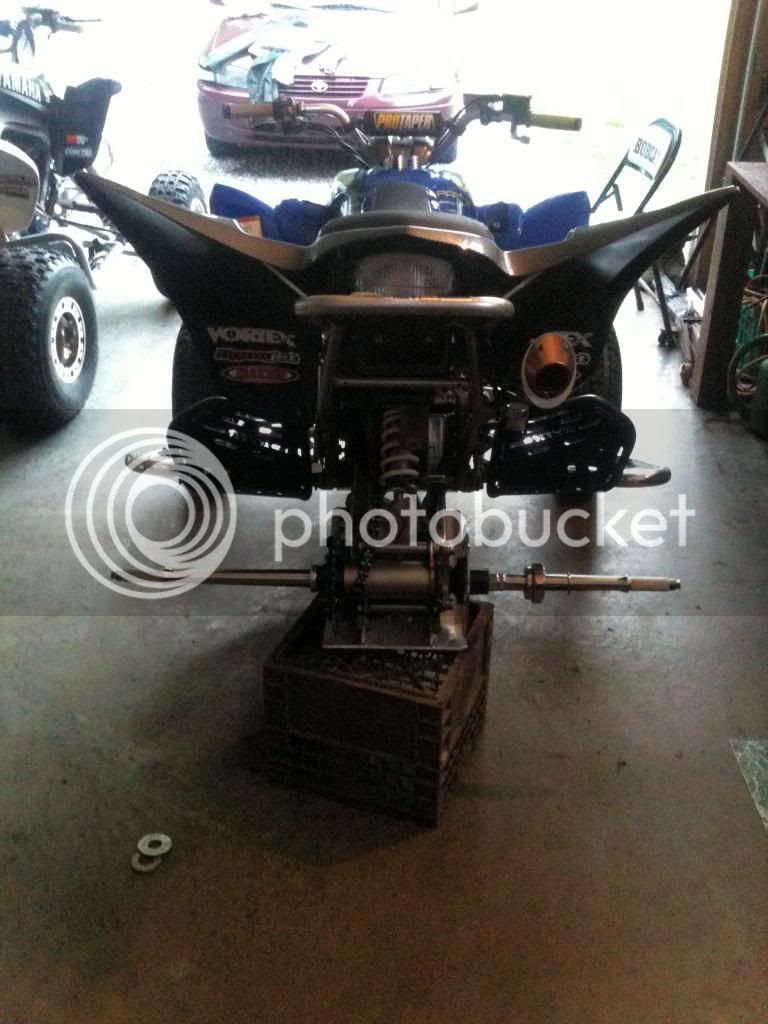
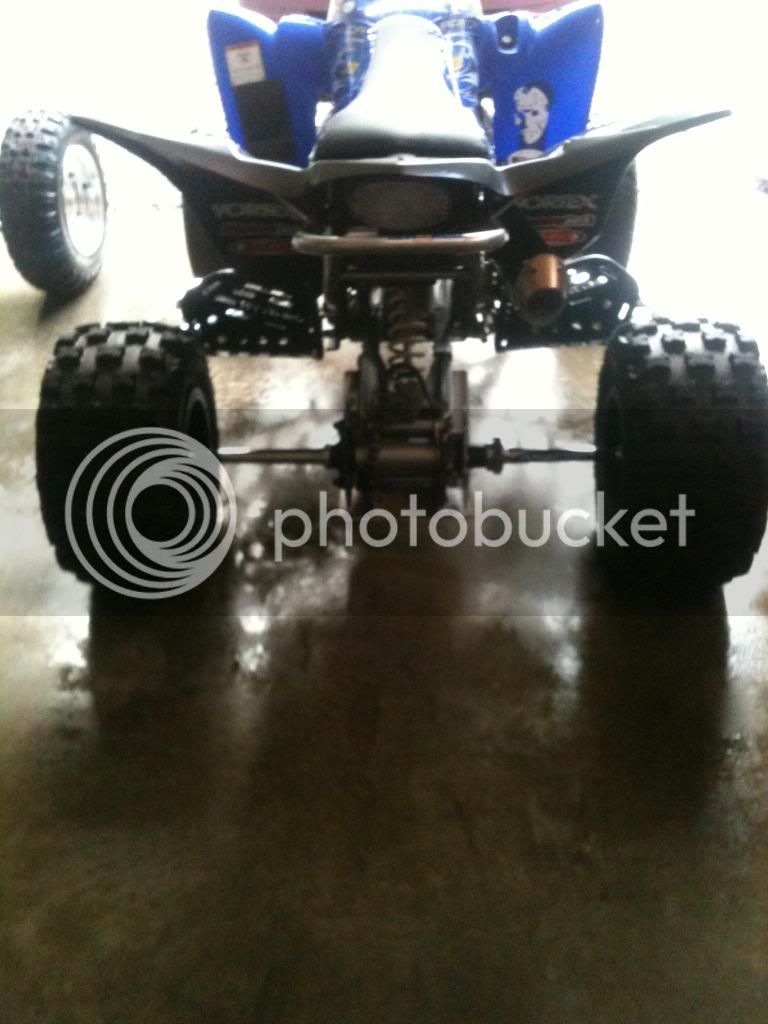
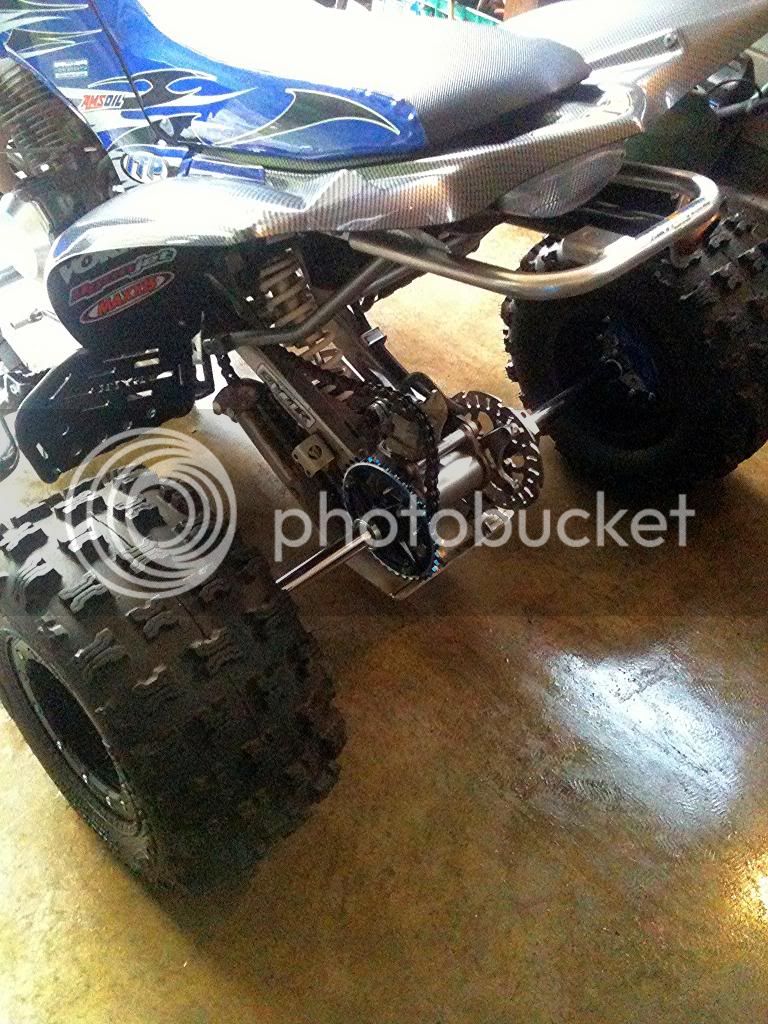
Pics of the rear end, This thing is wide on the +4 where I have it set at. What I really like about the axle is that I can adjust it from 0 to +2 to +4, One of my favorite mods so far.


A closer look at the axle, sprocket and rotor.


Beside the older brother lol

 
Back
Top