tcombs0064
Well-Known Member
Got bored and decided to have some fun with the dremil on a bad head. i wanted to see what you guys thought. If i messed it up, or if it looks alright.
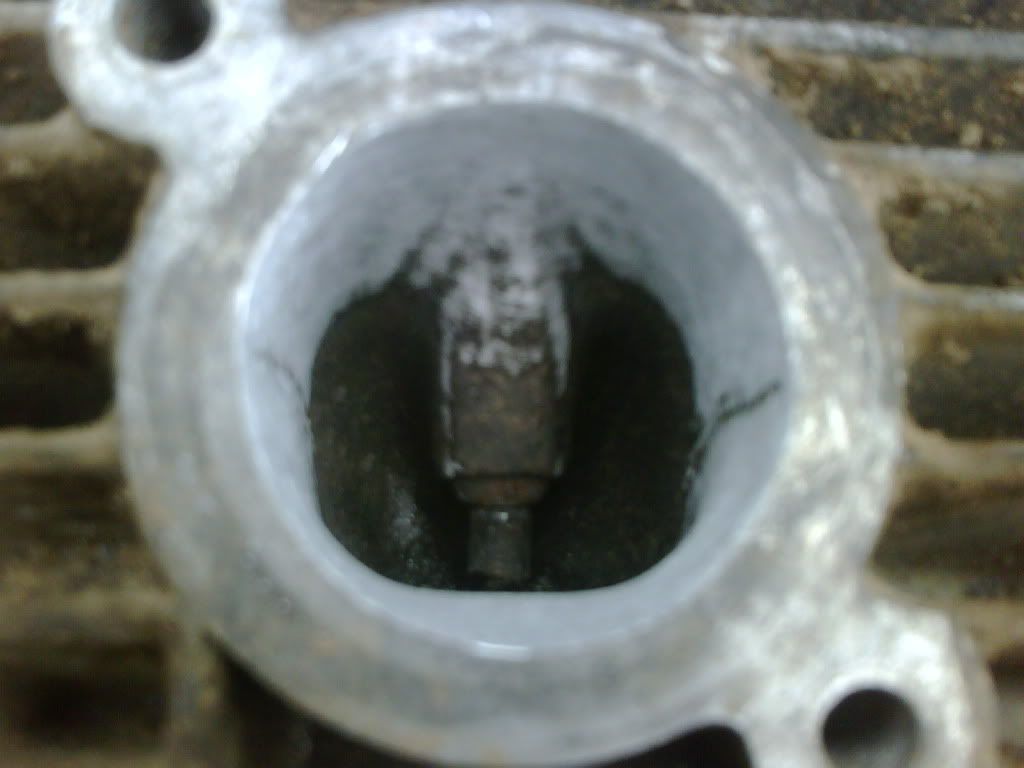
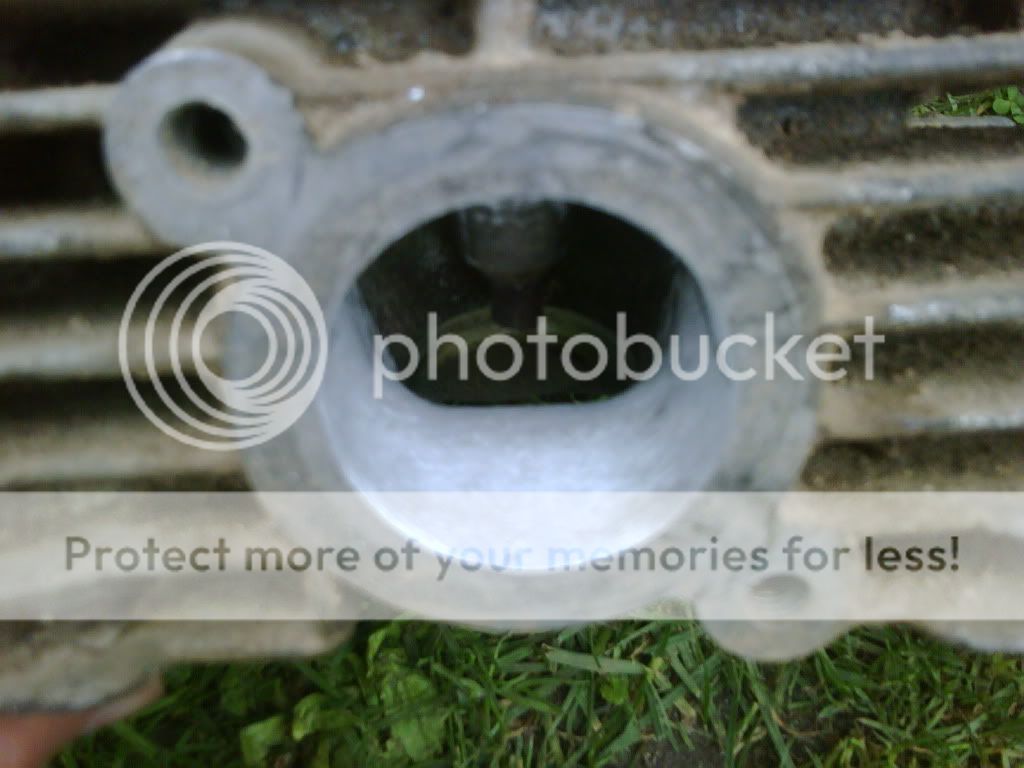


Depends on what you want to spend, they go from taking out the casting improfections to D porting the intake for more turbulance. D port = flattening the bottom of the port so it looks like a circle with a flat spotWhat do the shops do when you get your head ported and polished?
Yeah it does, I don't know if they cut it all out or add to it. Just found about about it from a local atv shop/builderSounds to complicated to do your self lol
I think anyone with some time and dremel can remove casting flaws, but if you want a high end port job take it to a profesional
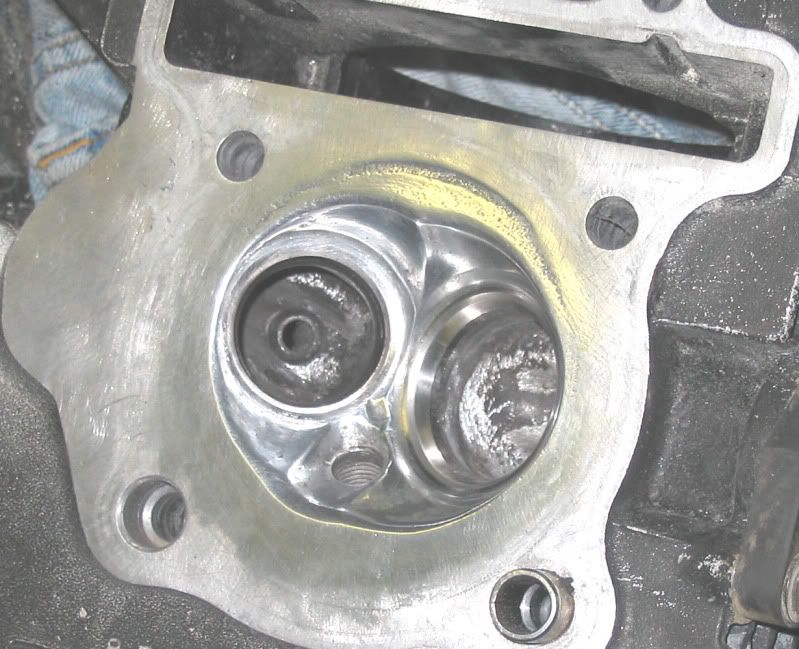
I've always been told polish the exhaust side, never the intakePolishing a 4 stroke kills its ability to mix fuel and air when you got to the 400 grit papper you should stop

Enter your email address to join: