Finally got my next project car!!!!!

Yamaha Raptor 350 & Warrior Forum

Help Support Yamaha Raptor 350 & Warrior Forum:

This site may earn a commission from merchant affiliate links, including eBay, Amazon, and others.
Jesus... I'd find the ugliest girl in town and ask her out on a date in your project car. Then I'd tow that thing into a swamp and leave it there with her on the roof hammering a tub of mixed-variety cookies.

Next is the easy part... doing nothing but walking away realizing how much BETTER your life just got...

Um... Okay. Thanks for insulting my car. :disgust:
 
Sorry man didn't mean to insult the car, just saying that looks like a lot more work than it's worth. Having spent years working on cars, I've come to realize - less is more.
Quads and the like are so much easier, cheaper, and less stressful. Fing with full size cars is mostly painful, especially if it's not nearly new.

That's not what it's about. Some people will spend more money than they should be to make it their car. If he wants to do something to his car, let him do it. Don't insult it. He got the car for $850. What's he losing? He's doing it for the accomplishment and the pride. Hell, I've put way too much money into OEM parts for my warrior than I should have, just because I want the thing to work right. It may not be worth that much money, but I'm going to put the money in it because I'm passionate about my quad and I want it to be reliable? Why do you even care how much he spends on his car? Haven't you ever had a customer come in with a blown engine, the car is worth $5,000 and the engine costs the same amount, yet they still pay it? He loves his car. He's going to put as much dedication and money into it to make it work the way it's supposed to. Someone has to give it a little love. If you aren't going to give it any love, why bother buying it in the first place? It's called a project car for a reason. I don't understand your logic.

Pat: I don't know if you finished up the head, too many pages, but the iron ones are great.
 
Sorry man didn't mean to insult the car, just saying that looks like a lot more work than it's worth. Having spent years working on cars, I've come to realize - less is more.
Quads and the like are so much easier, cheaper, and less stressful. Fing with full size cars is mostly painful, especially if it's not nearly new.

It's okay. I do understand where you are coming from. But, being a mechanic, it's nice to have something that you can show off on the street, and at car shows or cruise nights. I've not ever had anything like that. Besides, my mind set is; if I don't save a part of history who will? And, actually, I've spent over 10k between my Warrior and atc350x. While that may be two machines compared to one car, that's still roughly 5k per machine. 5k can do a lot to a project car.


That's not what it's about. Some people will spend more money than they should be to make it their car. If he wants to do something to his car, let him do it. Don't insult it. He got the car for $850. What's he losing? He's doing it for the accomplishment and the pride. Hell, I've put way too much money into OEM parts for my warrior than I should have, just because I want the thing to work right. It may not be worth that much money, but I'm going to put the money in it because I'm passionate about my quad and I want it to be reliable? Why do you even care how much he spends on his car? Haven't you ever had a customer come in with a blown engine, the car is worth $5,000 and the engine costs the same amount, yet they still pay it? He loves his car. He's going to put as much dedication and money into it to make it work the way it's supposed to. Someone has to give it a little love. If you aren't going to give it any love, why bother buying it in the first place? It's called a project car for a reason. I don't understand your logic.

Pat: I don't know if you finished up the head, too many pages, but the iron ones are great.

You talking about the 4.0 head? I have that on my bench, ready to ship. Just need to put together a box for it and it'll be getting shipped out for porting and set up for a cam. I've still got the 360, but, I know I'll wind up getting another AMC one day, so I'm going to hang on to it in the mean time.
 
Copy and pasting from my thread on THEAMCFORUM.com. All this date back to end of Sept.

We had nothing scheduled today, so I drug the parts car into the shop, cut the driver's front frame rail and fender apron off. This is how she sits in my car.


I only have it clamped in up front on the headlight panel. The back is resting on the radius rod bracket at the moment. Have to do more prep work and fitment work before welding can begin. At least I'm one very big step closer.
http://theamcforum.com/forum/1970-javelin-resto-has-begun_topic58364_page3.html#top
Will be getting my 4.0 head back this week. Here are some pictures to drool over.


Head is down at Elliot's Portworks. This was the first 4.0 head he has done (specializes in LS engines) but is happy to do more porting and rebuilds on them. He set up my head with 2.00/1.55 LS valves and hardware, and yellow LS springs to support the high lift cam I'm going to run. If there is a section for services offered, I'm more then willing to post his contact info, pricing on this head, etc...
 
These are from October


These are from a couple weeks ago.


I need to take some current pictures. All of the welding to the uni-body and trough is complete. The cowl just needs some hand sanding. I made patch panels for the kick panel, firewall and the inner rocker panel from the toe board to the front edge of the seat. I also fabricated the 90* lip for the floor pan that gets spot welded to the rocker panel. Wish I had a metal break, but, it's done. The pinch weld flange and front access hole fro the rocker panel (houses the lower mounting bolt for the fender) had to be swapped over from my parts car. Nearly all of the grinding to my welds is done. Now to get the passenger side done.

The engine compartment is almost devoid of paint. Just need to strip the paint from the firewall and radiator support and I can move on to prepping for primer and paint. My custom ground Lunati VooDoo cam came in last Thursday. The forged rods from Scat came in Friday after Thanksgiving. And, I bit the bullet and bought a blast cabinet from Eastwood. Now I can really make some progress on all of the steering/suspension parts.


Forgot to snap a picture with the weld completed. Will try to get that tomorrow. It surprises me that both of these flanges were good on my parts car when the floor and rocker panels are nearly rotted away completely, yet, on my car, they were toast. Weird

Small update. Just have to grind everything down and make a tiny repair to a rib in the driver's rear floor pan.


Did a minor repair to the lower radiator support today, and applied two coats of Eastwood's internal frame coating. That stuff is great!
http://theamcforum.com/forum/1970-javelin-resto-has-begun_topic58364_page3.html#top
 
Picture I meant to take a week and a half ago. Just have to grind the welds down.


This picture is of the driver's side toe board and firewall that I had to repair, and that all have seen from the inside.


This pictures are of some of tonight's work. I stripped the fender aprons several weeks ago. Just did some cleanup on them tonight. Biggest thing I did tonight, was to strip the firewall of paint. Have a little more Mosport to remove, then sand, before painting. Have all the holes taped off so I can apply the POR15 to the wheel houses, followed by rubberized undercoating.


Also, my present from Ross-a-clause came in today. Parts are sweet, Santa-Ross!!


Both wheel houses, and fender troughs, covered in POR15 and rubberized undercoating. These are early pictures before I finished coating the firewall/toeboard, and before I laid down the undercoating.


Applied POR15 to the radiator support. Once it was tacky (about 3 hours later), I shot it with self etching primer.


Got the engine compartment primed as well. Once I get the engine bay painted and clear coated, I'll tackle the wiper cowl. Just needed to get that bare metal covered.


It's hard to see, but, there is the first coat of Mosport green on my car!


http://theamcforum.com/forum/1970-javelin-resto-has-begun_topic58364_page4.html#top
 
Whipped up a coil spring compressor really quick this morning. And, by quick, I mean it took me fifteen minutes to do. Worked perfectly.


The driver's side is about ready to go. Ceramic pads and brake hoses will be in tomorrow morning. New wheel studs, bearings, races, wheel seal, caliper, etc... No interference with the Scarbird set up. New coil spring is one inch longer then the old unit, so I'm hoping the old spring truly is worn out, and that the new spring settles well once the engine is in.


Made a few more repairs to the floor last night. Had to made a 1.5" long piece of rib.


This small square patch.


Straightened out some dents a warpage front the car being lifted with a forklift, and coated with POR15, followed by rubberized undercoating.


The engine compartment is about done. (really need to remember to grad a better camera)


And, today, the LAST Modern Driveline early AMC 6 to T5 adapter came in today.


Now I just need to find a 94-98 T5. My latest order from APD will be here tomorrow. Once I have that, I can finish the rear brakes. Already installed the new wheel cylinders and drum to drum brake lines w/hose. Just need the parking brake cables so I can assemble the brakes. Have a few other items in the order that will further the engine compartment's completion. Also, got my blast cabinet (cheaper plastic unit) from Northerntool, but works great! Been cleaning lots of parts.
http://theamcforum.com/forum/1970-javelin-resto-has-begun_topic58364_page4.html#top
 
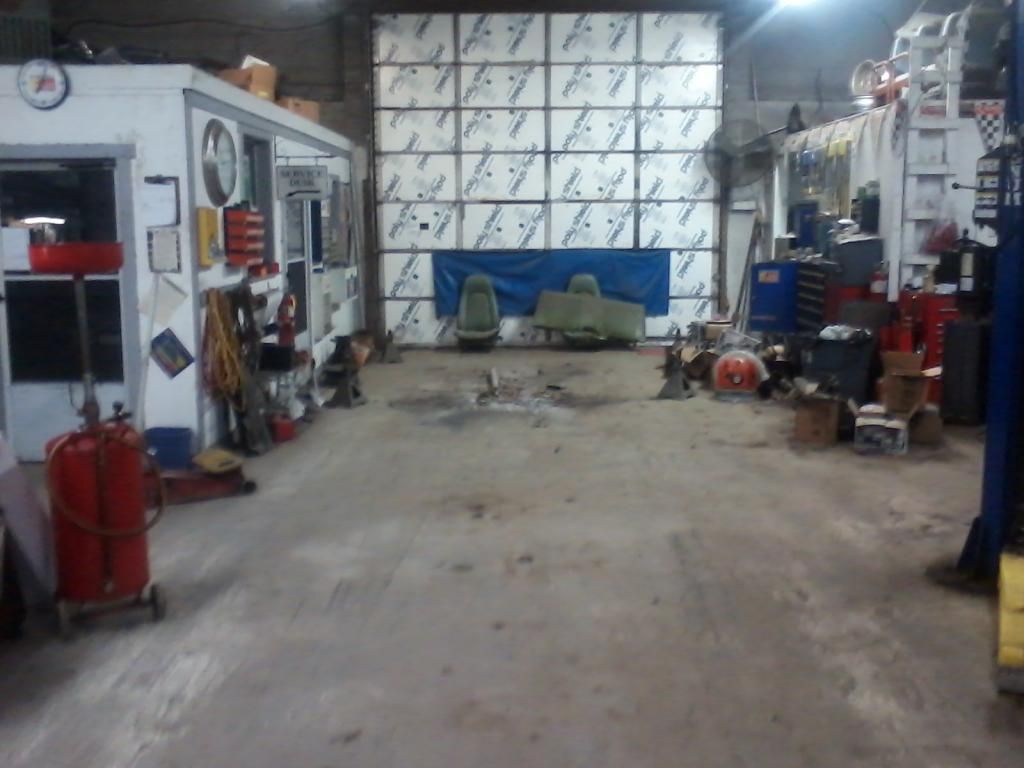
Thanks! BIG progress today. She has left her resting place of 6 months!


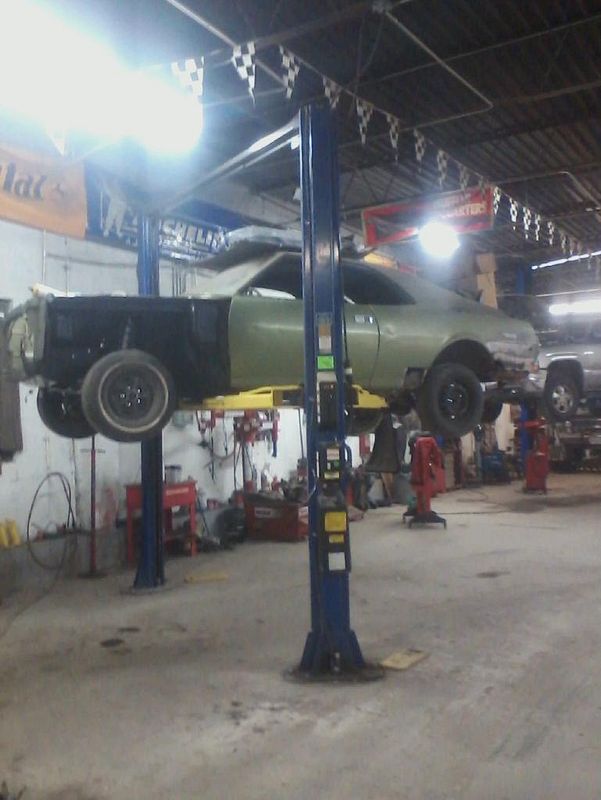
And, finally found her way onto a lift!


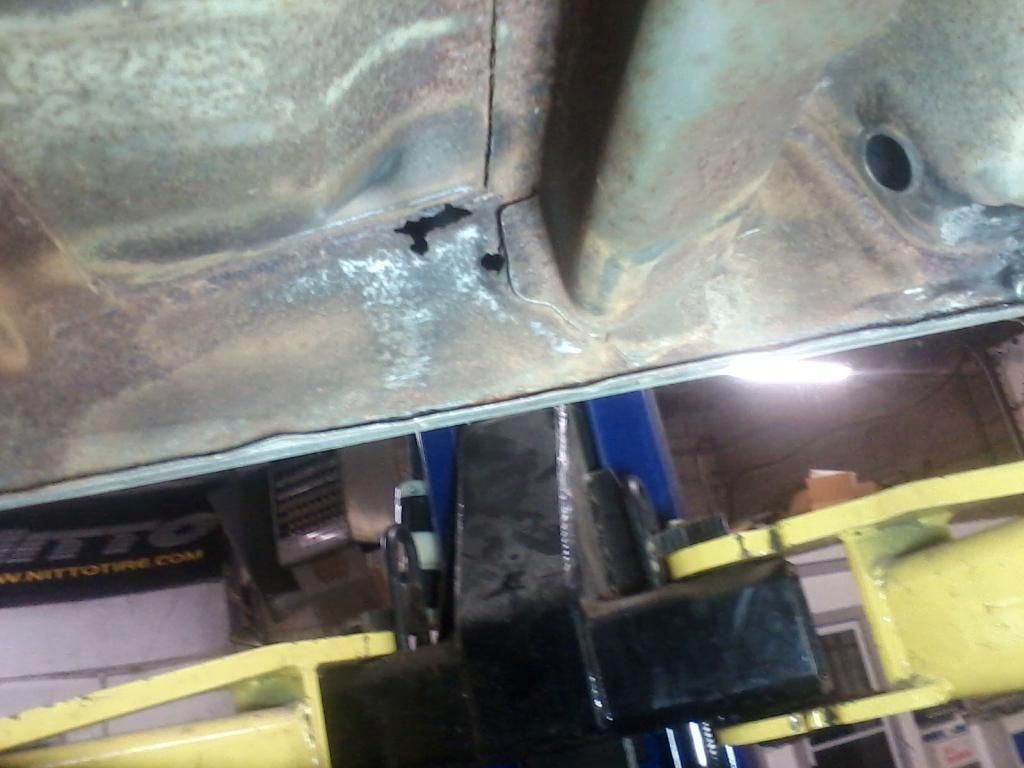
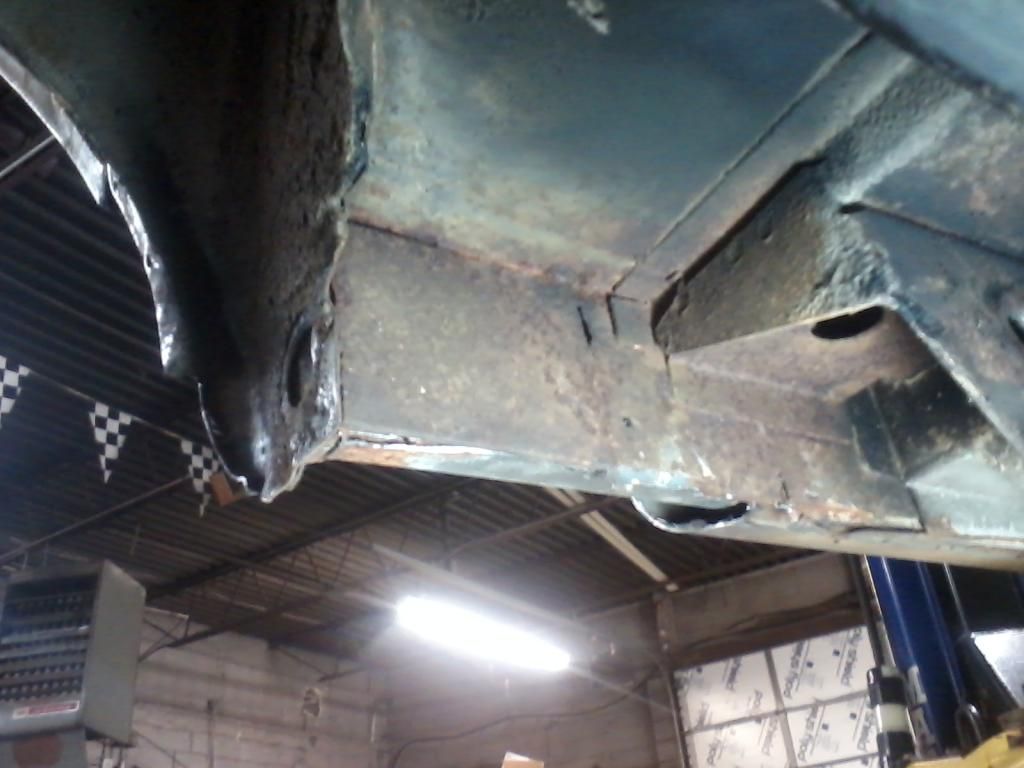
The two areas that needed attention paid on the underside.

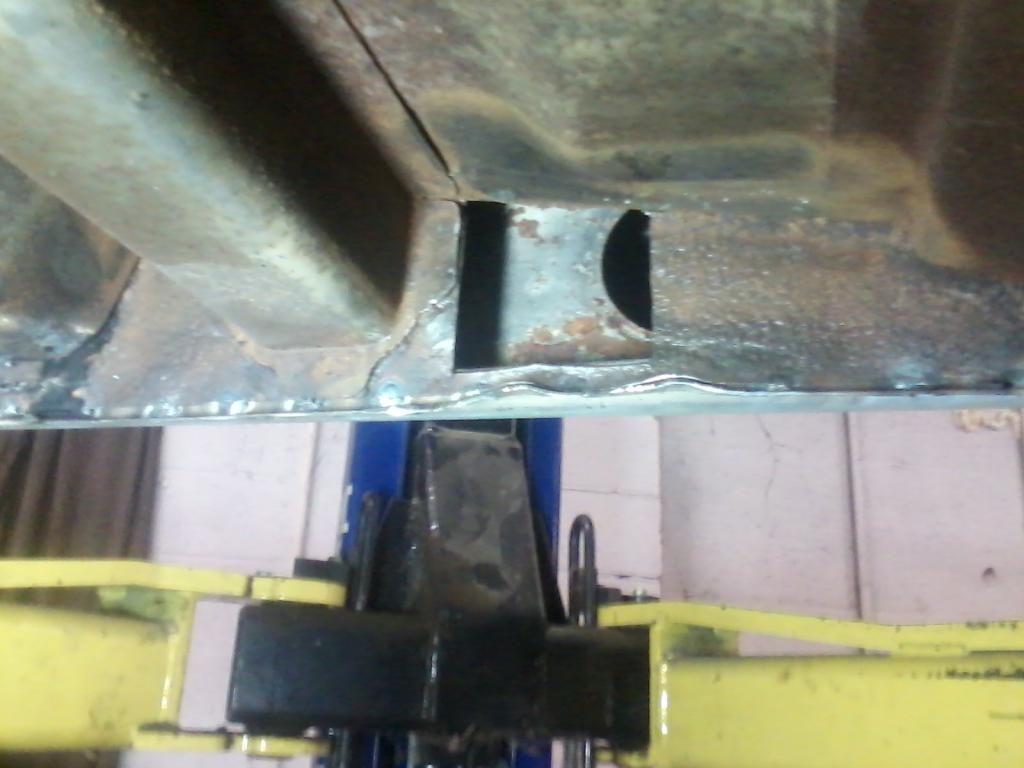
First picture, driver's side:
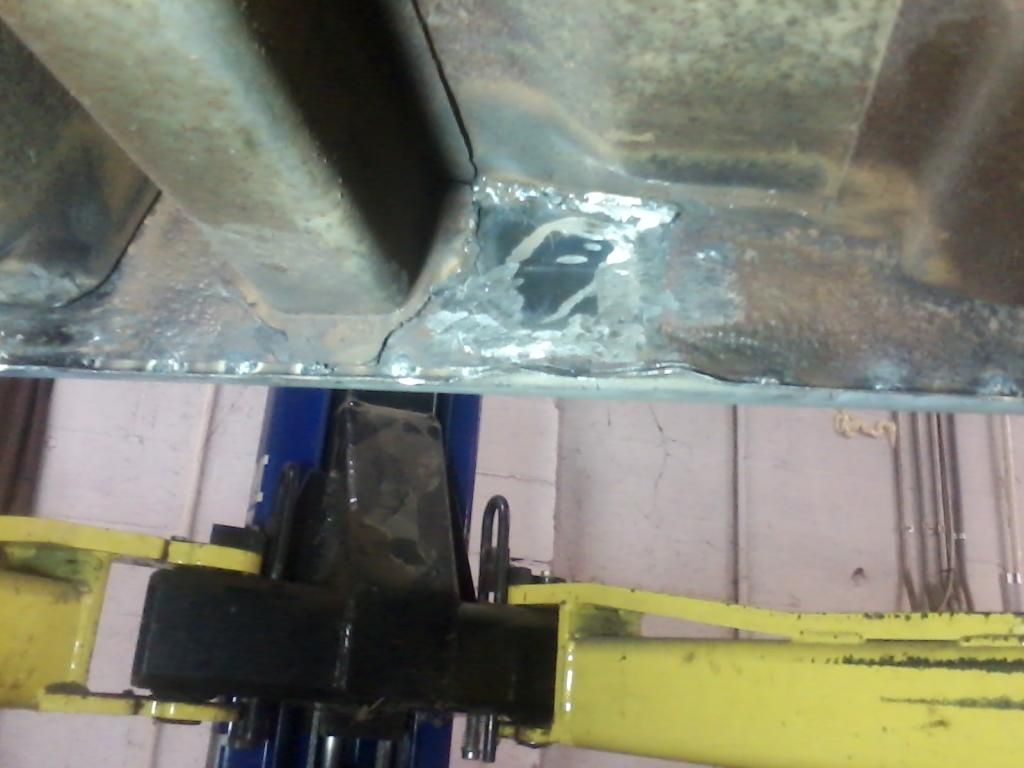

Passenger side:


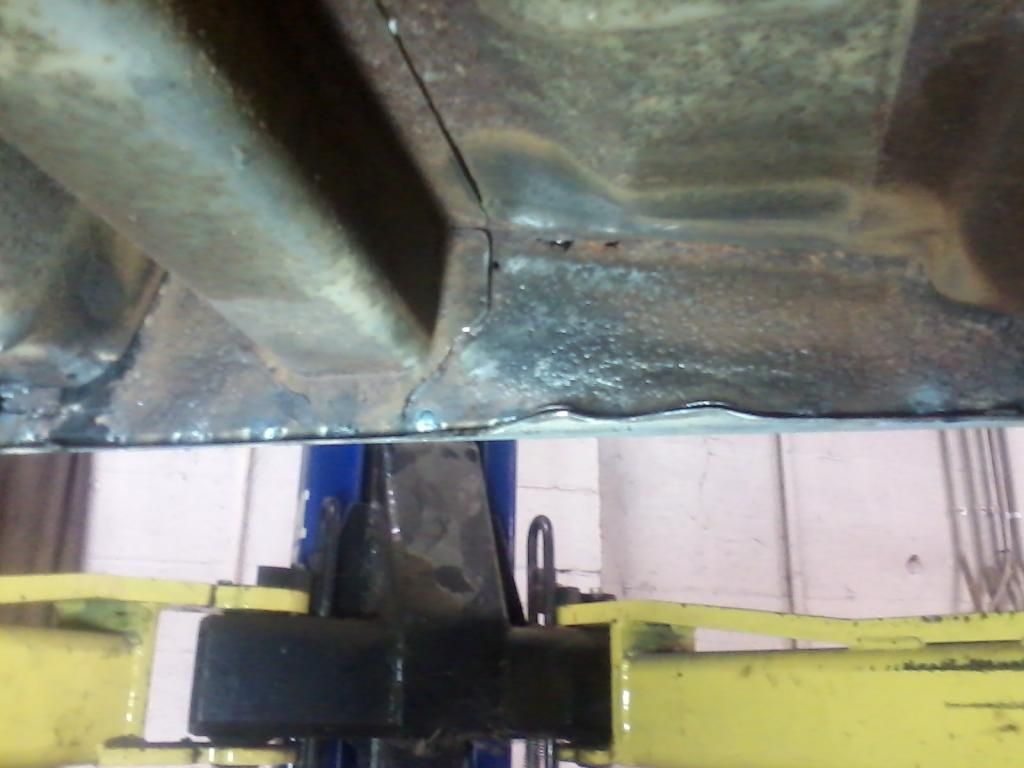
Passenger side rot cut out:
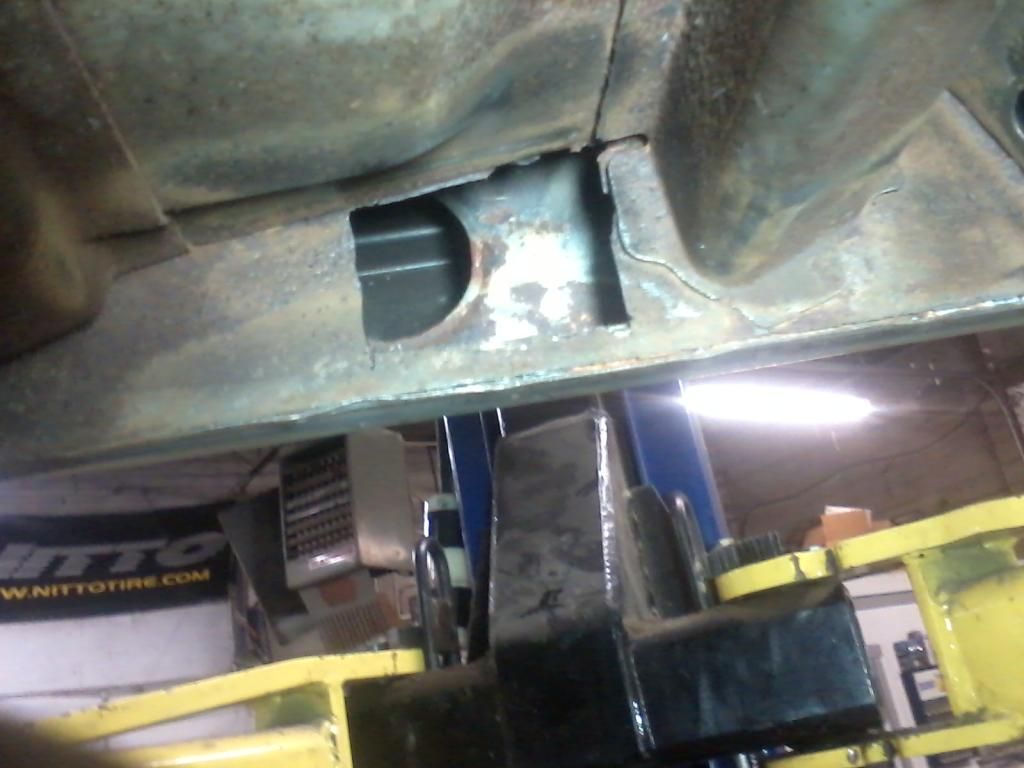

Patch in place:


Driver's side:


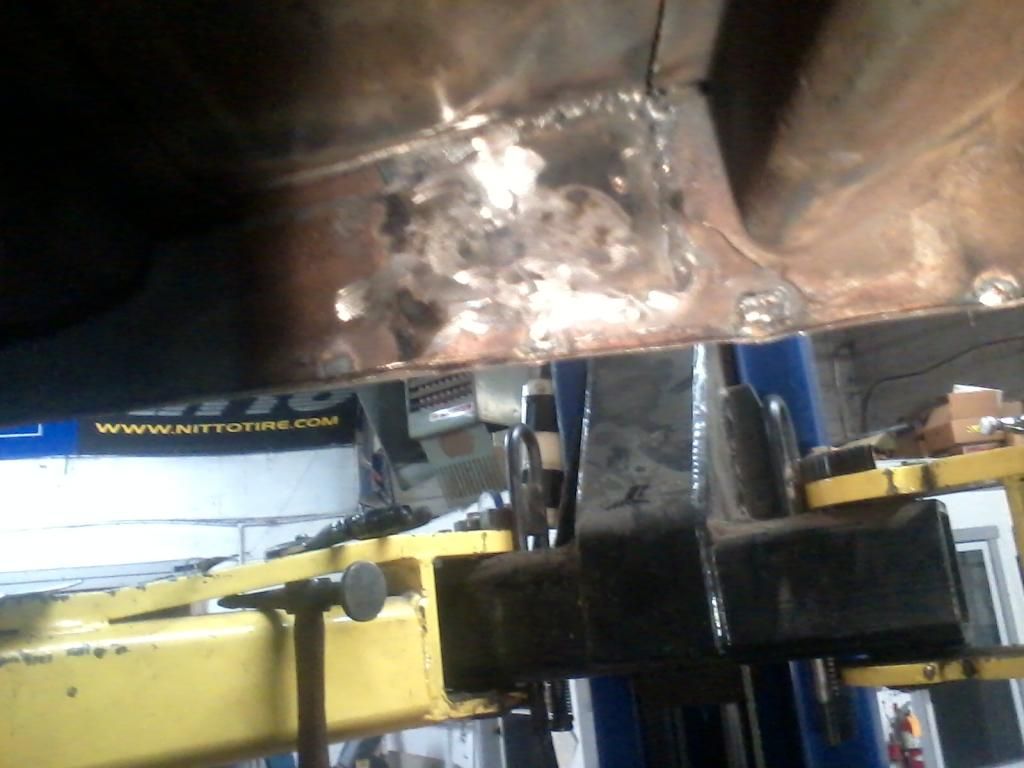
After patching those two areas, I went and applied POR15 to all the rusted areas underneath, and to any painted areas. The factory undercoating is still clinging to the underbody with a vengeance. So, if I go up to the shop tomorrow, I will spray the underbody with rubberized undercoating.

My APD order came in today. Again, if I go there tomorrow, I will finish the rear brakes, now that the cables are here. May also drop the rear and spring out so I can replace the spring shackle bushings. They are still tight, but, could use replacing. I wouldn't hesitate to drive the car with them as is, but... Why not just get it done, right? Already have that shackle bushing kit anyhow. New rear shocks will go in regardless. Need to make a new brake line to the rear axle, as well as a new fuel line.


I remember you saying something about using the frame spray on the A pillars a while back, Dave. I'm going to do the same. Anywhere that wand can go will add life to the car.

Went to the shop yesterday. Didn't get everything done that I had intended to. Weather got really bad so I packed up and took off for home before the roads froze. I did get the rear out to replace the leaf spring and shackle bushing. Of course, the front driver's side spring bolt was rusted into the bushing. Before going any further I went out to the parts car to make sure that I could remove one of the front bolts. Had success with that. Then, on to removing that stubborn bolt.

I used the torch to cut the inboard side and used the sawzall to cut the outboard side. Below is the mess created in getting that sucker out.


Ran into a little problem with the Pro-thane spring bushings. The shackle bushing were perfect! The front spring bushings on the other hand.... Well, needed a little persuasion. I had to use a 1 & 5/8 hole saw to turn down the OD so they'd fit inside the springs.


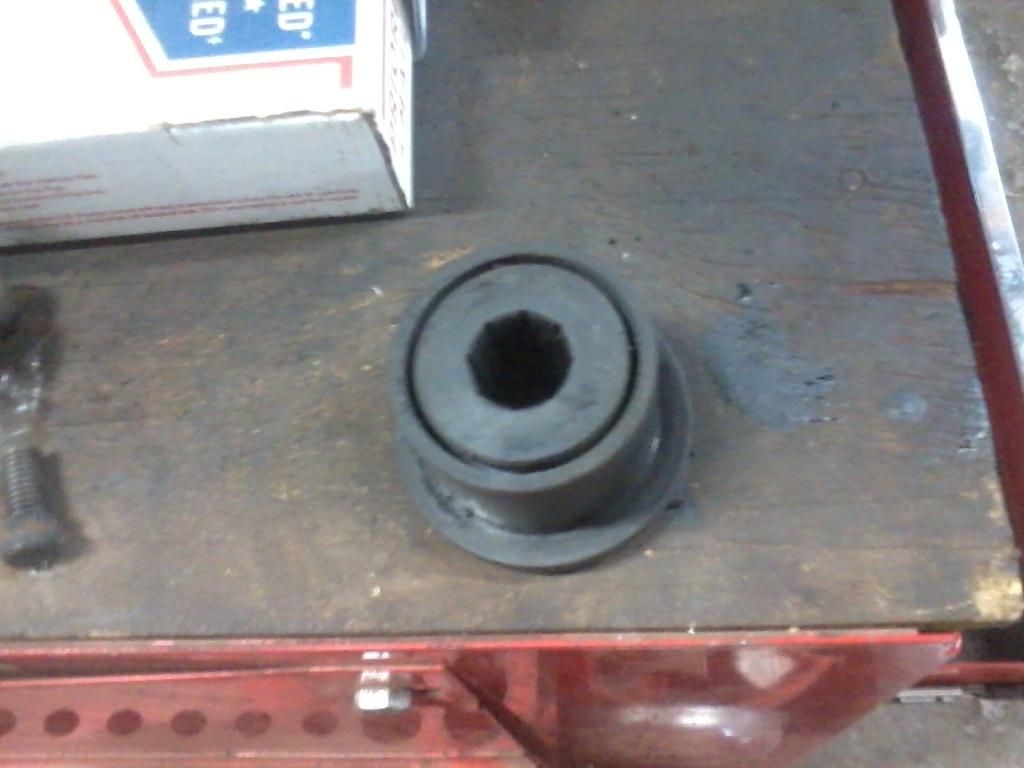
Just had to trim the "fat" with a razor, and cut the flange down with scissors for a better fit inside the bracket.

Decided that I would never get a better chance to repair another rot spot. I had complete access without the springs in the way. Doesn't look too bad in the picture, but that piece of 1/16 steel in front of the rear wheels was hanging on by the thinnest of metal. Cut that out and replaced with a new piece of 1/16. And of course, I forgot to take a picture with the repair completed.


After I had the rear back up in place I replaced the rear shocks, finding that the driver's side lower mount was in sad shape front rust. It was heavily pitted and the diameter had "shrunk" from rust. You've got to love KYB. They furnished the new shocks with new lower mounts. So, out cam the torch once more so I could cut the old mount off. Just needed to drill a 1/2" hole and whalla! New mount.


I had aspirations to install the parking brake cables, assemble the new shoes and hardware, and lastly clean and deglaze the drums. The weather threatened bad roads and I decided to cut the day short of my goal. I did spray fresh undercoating on the underbody though.
http://theamcforum.com/forum/1970-javelin-resto-has-begun_topic58364_page5.html#top
 
And, now this is nearly 100% up to date. Am putting the original 232 back in it. Just don't have the time, or money, to finish the 4.6L I6. Will be installing one of Comp's High Energy cams and a small 4v to give here some pep. All AMC I6 engines were anemic from the factory, and once they've been warmed over, they can behave like a small v8.
 
Nice job Pat, really like seeing the progress and like Jimmy said, you do some nice work. Keep us updated
 
Thanks, fellers! She has come a very long way these last two months. Just need more money to go further.
 
Back
Top