adjusting the float!

Yamaha Raptor 350 & Warrior Forum

Help Support Yamaha Raptor 350 & Warrior Forum:

This site may earn a commission from merchant affiliate links, including eBay, Amazon, and others.

codysisk13

Well-Known Member
Joined
Apr 5, 2012
Messages
454
Reaction score
0
Location
marion IL
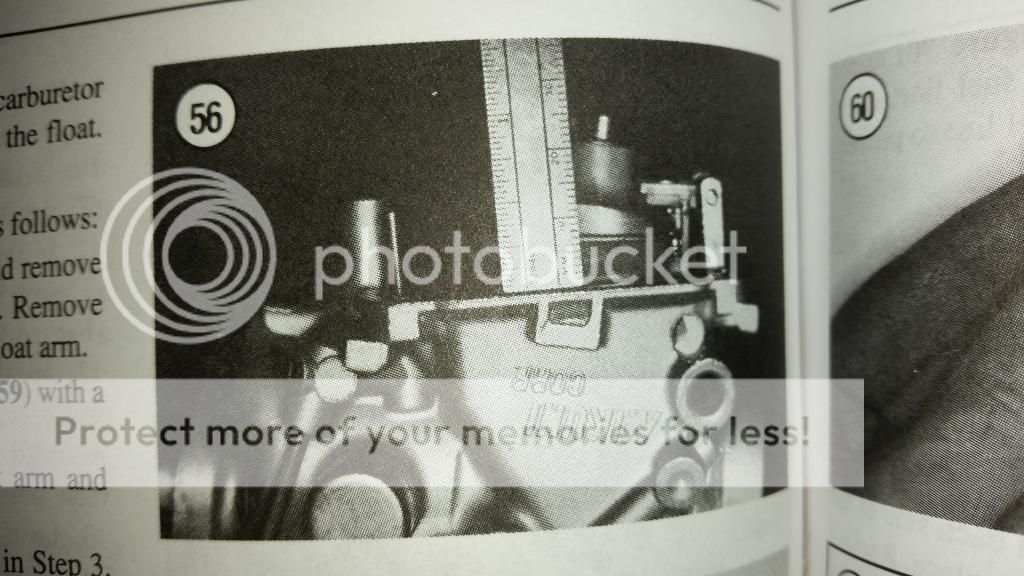
Alright i need to adjust the float on my carb to see if that will help with the cutting out. Does anyone know the the correct height for the float??
 
isn't the only way to adjust the float is bend the metal flap that the fuel valve hooks in?
 
Yes that is the only way, but there is a specific measurement, taken from the bootom of the carb body to the seam in the float. Can't remember what the #s are.
 
here's what I found
With the carb sitting upside down set the level so the float is parallel with the gasket surface of the carb.
 
Yeah it is in the manual. Gives you the adjustment procedure and specs. I think the specs are in the tables in the back of the chapter.
 
here's what I found
With the carb sitting upside down set the level so the float is parallel with the gasket surface of the carb.

That advice is for a different style of carb. This works for a Keihin that doesn't have a spring loaded inlet valve.

A Warrior carb has a gasket surface that is on a different angle compared to other carbs.

-Rhyno
 
............... My guess... Being that I am not there......

The float height is too high. Which contributes to your "rich condition" and the fuel coming out of the overflow. There are a few ways to measure, and sometimes they are both confusing.

It really depends on which "advice," you listen to. Try to do it the way that is described in the service manual, but try to get a "mental picture" of how the carb sits, and envision the fuel level versus the float.

I know that sounded weird. My guess is that when you can "envision" it, you be able to get it correct.

Once that is taken care of, then you can work on the other things...............
-Rhyno

-Rhyno
 
Last edited:
One important thing to remember......

Disassemble before trying to bend the float valve finger. The finger is what applies pressure to the valve. If you apply pressure to the valve, it can/will damage the seat and the fuel will never shut off once the bowl is full.

It doesn't take much pressure to damage, either.

-Rhyno
 
Last edited:
thanks ryno i just got done reading the float adjustment in the manual and it told me what to do. but i dont know how to check the fuel level? it said with a fuel level tester but i have never seen one before??
 
thanks ryno i just got done reading the float adjustment in the manual and it told me what to do. but i dont know how to check the fuel level? it said with a fuel level tester but i have never seen one before??

This is where I suggested that you "envision" the internals....

Typically, the fuel height will equal a cross section view of where the seam in the plastic or internal brass structure is.

Most guys don't use the "Special" Yamaha fuel level checker.

If you are curious as to how a "Float" actually floats, take the float pivot pin and the float, and hold them in some water. Of course, put the pin in the float and hold the pin at the level of the water. You'll see how much of the float is under water and how much is above. It'll show you where the fuel level is. It'll help you "envision" the appropriate height, if you have any question after measuring.

-Rhyno
 
haynes manual and yamaha service manual say: float height for 87-01 is 12.4 mm plus or minus .5mm. 02 and later is same, but plus of minus 1 mm. Fuel level 87-01 is 3.5 mm plus or minus 1 mm. 02 and later 2.5 mm plus or minus .5 mm. I don't know why they would even bother suggesting a "special tool" when you can just use a clear tube to see fuel level. Here is the confusing part, the haynes manual says, "note how far the fuel level is BELOW the line on the float chamber cover". Although the service manual from yamaha shows a picture of measuring ABOVE the float cover. https://www.flickr.com/photos/44694331@N03/14682535423/in/photostream/
 
i set it so it closes the hole when up! make sure it has full up and down play and your good to go.Ive never once measured out float height
 
i did mine about a year ago due to some overflow issues and mine is solid now. this pic is out of the clymer manual. the words are kind of confusing. they have you measure (upside down carb) from the rim (where the bowl seats onto) to the arc portion of the float. the thing to remember is when you have the carb upside down you have the weight of the float that WILL impact your measurements. so you actually want to lower the float to the point where it seals and no more gas can flow into the bowl. you can do this by gently blowing into the fuel line while lowering the float and measuring. also make sure you use mm as you have more marks to make sure your within spec and not just a cunthair out of range. oh yeah dont bend very much. in fact you shouldn't even visually see a difference after you put pressure on the pin. that pin can break on you and if it does a new float is $30. previous mentioned numbers are correct. 87= 11.9-12.9mm. 88-on= 11.4-13.4mm.

the way the manual explains all this confused me to the point i called a mechanic on it. he told me every carb is a little bit different. we managed to work through it based on this picture

20140715_145533_zpssx5acro7.jpg
 
Last edited:
what are the effects of improperly set float? besides overflow
 
Back
Top