


bikewarrior350
Well-Known Member
- Joined
- Jan 11, 2010
- Messages
- 155
- Reaction score
- 0
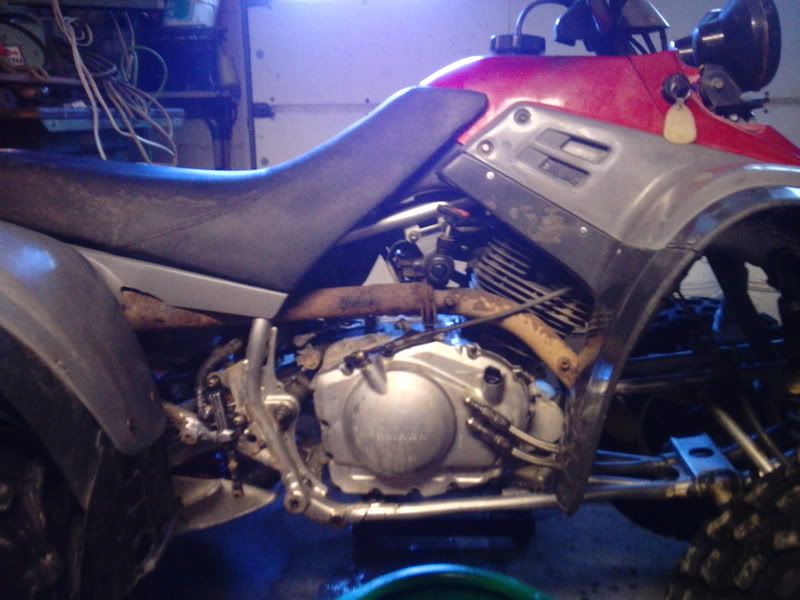
Replacing a clutch on a warrior is fairly simple however to those that havent ever torn into a motor i figured that i would document a clutch install.
Before starting you should put the new friction plates in an oil bath and let them soak for atleast 15-20min. I used the bottom half of a gallon of milk which was the perfect size and filled it with about a quart of fresh oil. Any container of suitable size would work for this purpose.
Next drain the engine oil. Since you'll be draining it anyway now would be a good time to change the oil and filter.
Inorder to get to the clutch cover the footpeg, heel guard, and brake lever need to be removed.
Next the clutch cable needs to be removed. Also if you have the clutch cover style oil cooler mod its would be a good idea to disconnect the lines to make the job a little easier.
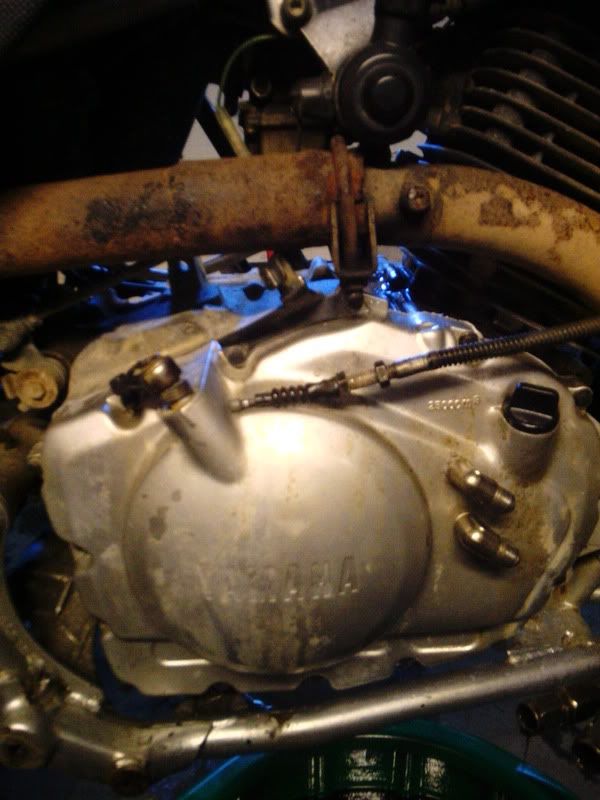
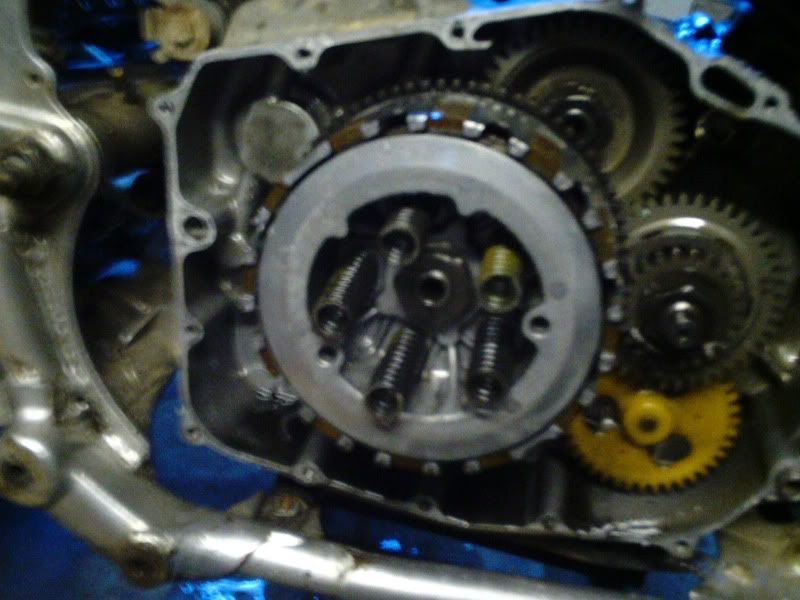
Next remove the 8mm bolts around that hold the clutch cover on. Two of these bolts will be different than the rest, so take note of where they came from. Once all the bolts have been removed you can remove the cover by prying it off the engine with a screwdriver or pry bar. There are several places along the edge of the cover that are cast larger than they need to be to make this process easier. Just be carefull not to damage the mating surfaces of the cover and the engine case.
Once removed this is what you'll see.
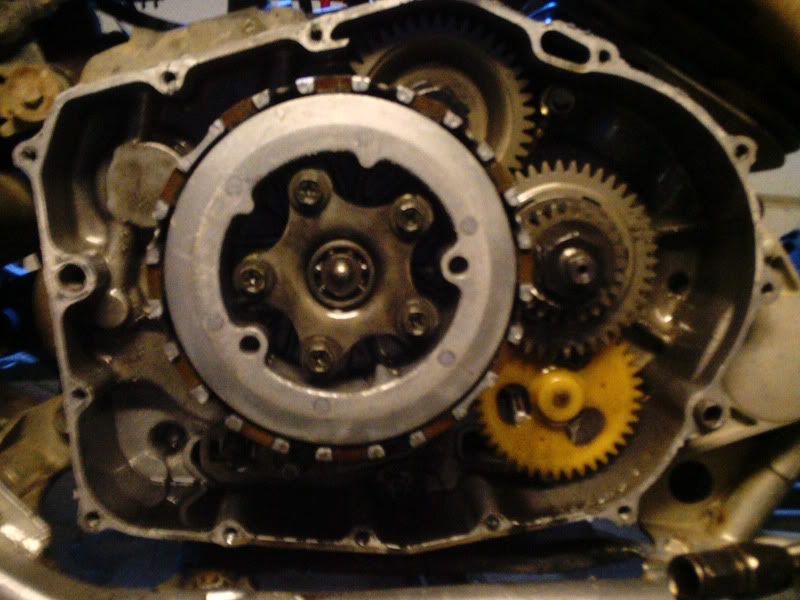
Now you can start disassembling the clutch assembly. Remove the five 10mm bolts holding in the release plate in the center of the clutch basket. Its important that the bolts be loosened evenly by working in a star pattern, backing each bolt off a little at a time untill they all have been completely removed. This prevents damage to the clutch basket and springs. Be careful when removing the plate as the clutch release bearing in the center is held in with an oring and tends to pop out as the bolts are removed.
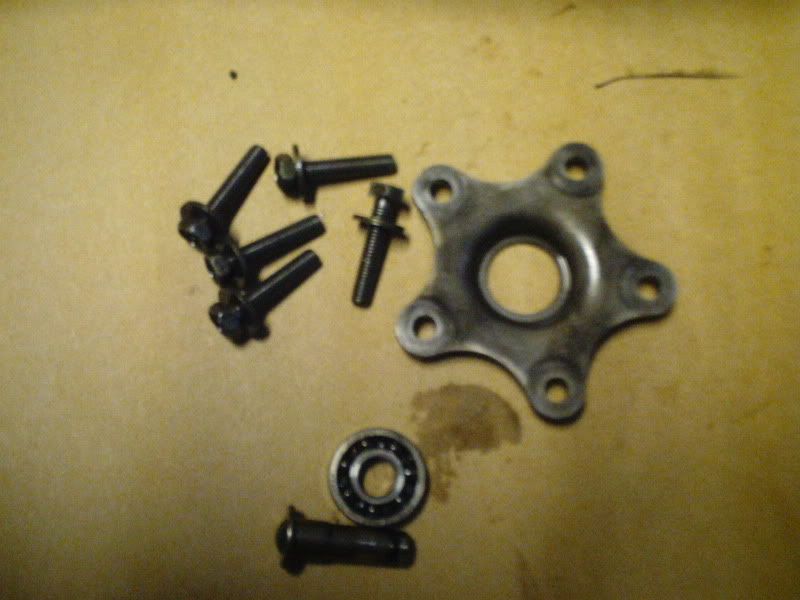
At this point these should be the parts removed.
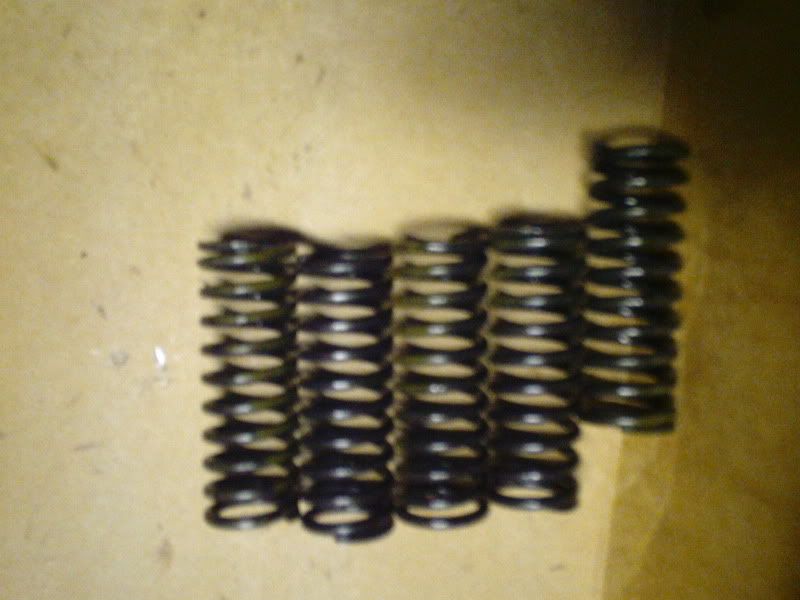
Next remove the clutch springs. If you are planning on reusing them check to make sure that they are within spec. If the springs are worn now is not the time to save money because more than likely they will cause your new clutch to wear out prematurely.
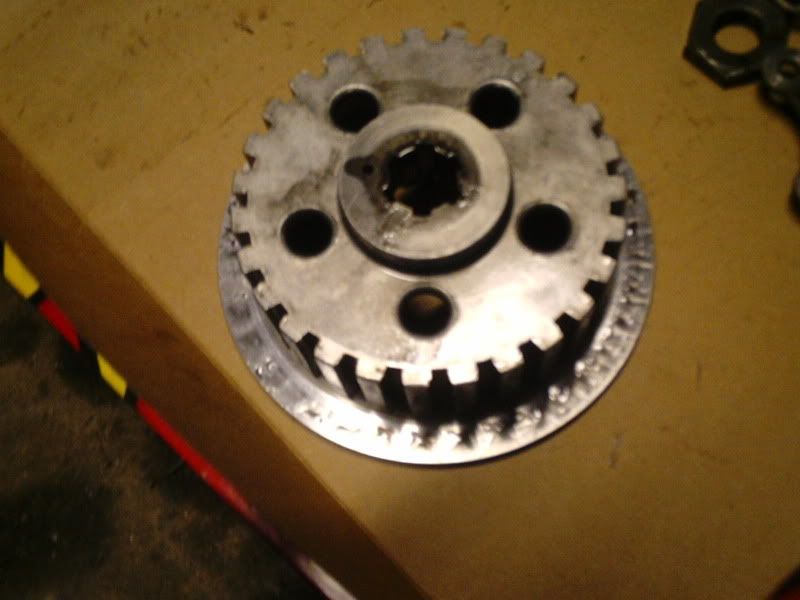
Next bend back the retainging tabs and remove the 30mm clutch boss nut. I would highly recommend the use of an impact gun for this otherwise you will need to make or purchase some type of clutch holder.
Now you can remove the outer pressure plate followed by the clutch plates and the inner pressure plate. Try not to mix up the order of the plates as it should be assembled in the same order as it was taken apart.
At this point this is how it should look.

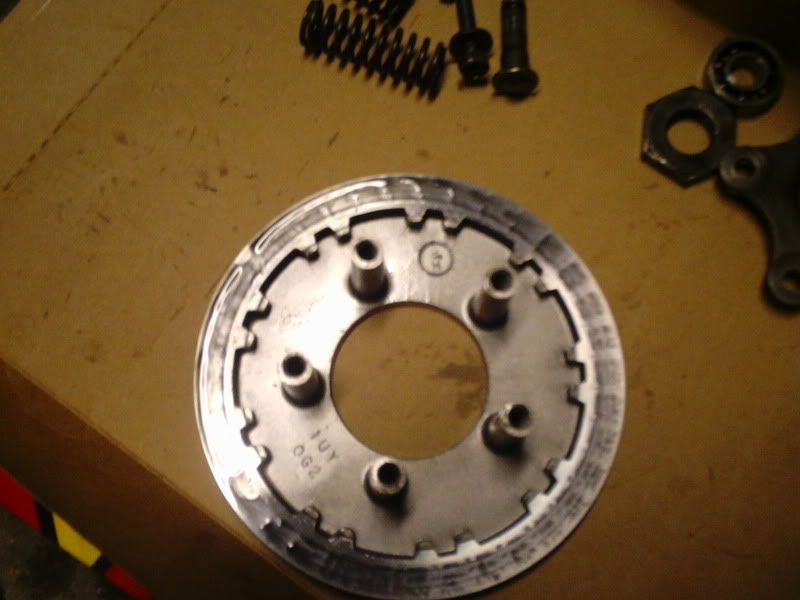
Outer Pressure Plate
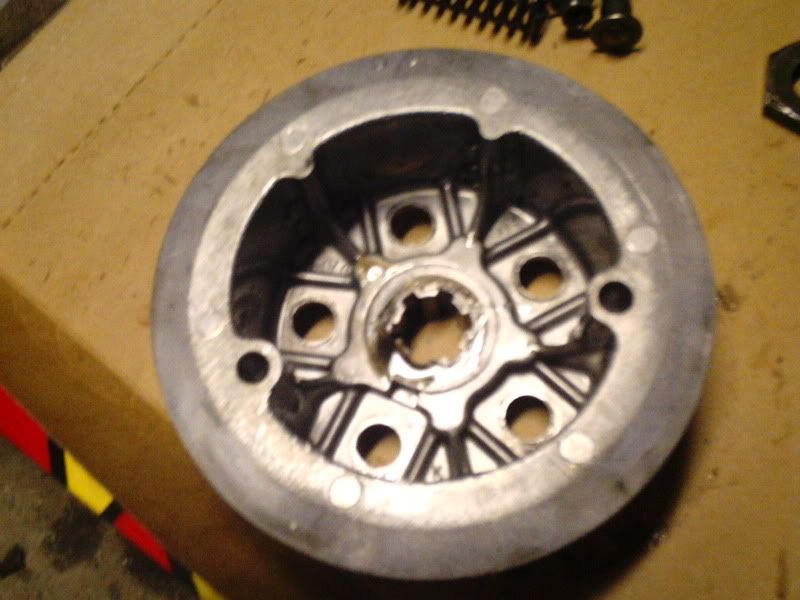
Inner Pressure Plate
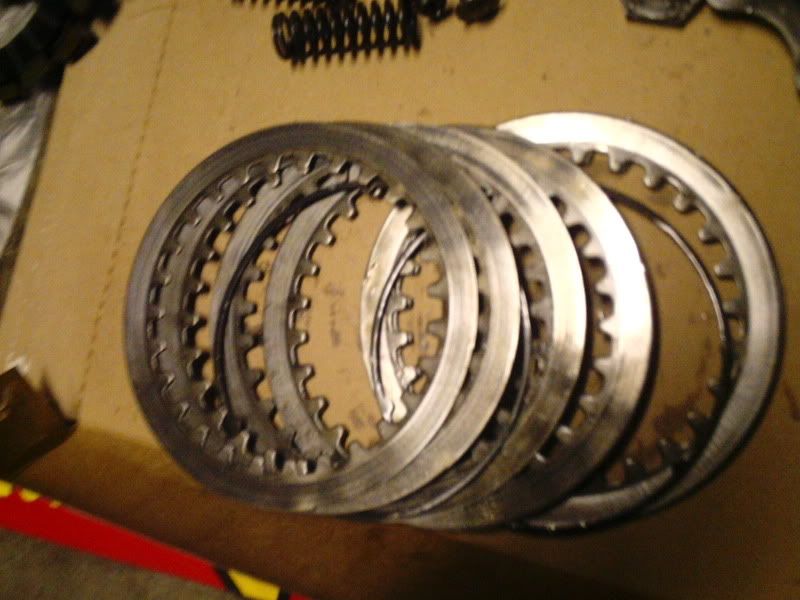
Next seperate the old friction plates from the steel plates keeping the steels in the order they were removed. The old friction plates can be set aside and discarded. Note that there are two spring plates that are located within the pack.
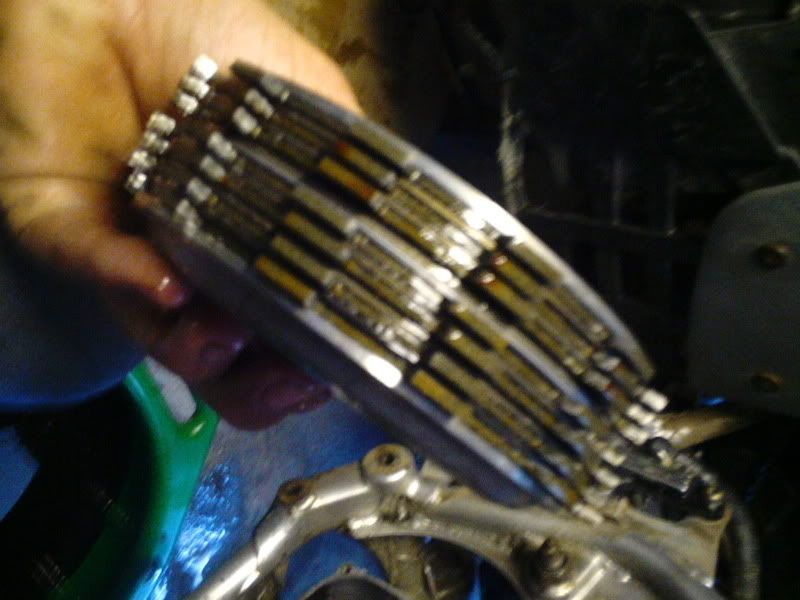
Now its time to assemble the clutch pack. Start with the outer pressure plate and stack the friction and steel plates in the correct order onto it. If you are planning on adding an extra steel plate now is the time to do it.
After all the plates are on the outer pressure plate install the inner pressure plate onto the assembly. Make sure that it can seat fully against the clutch plates as it only fits together one way.
The assembly should now look like this. Note the extra steel plate in the pack.
Now comes the fun part. Alighning all the friction plates into the clutch basket without having the steel plates fall off the pressure plate. I find it easiest to loosely install two of the springs along with bolts. This keeps the pack from falling apart but allows you to move the plates to line up with the clutch basket and the center shaft with the splines on the pressure plate.
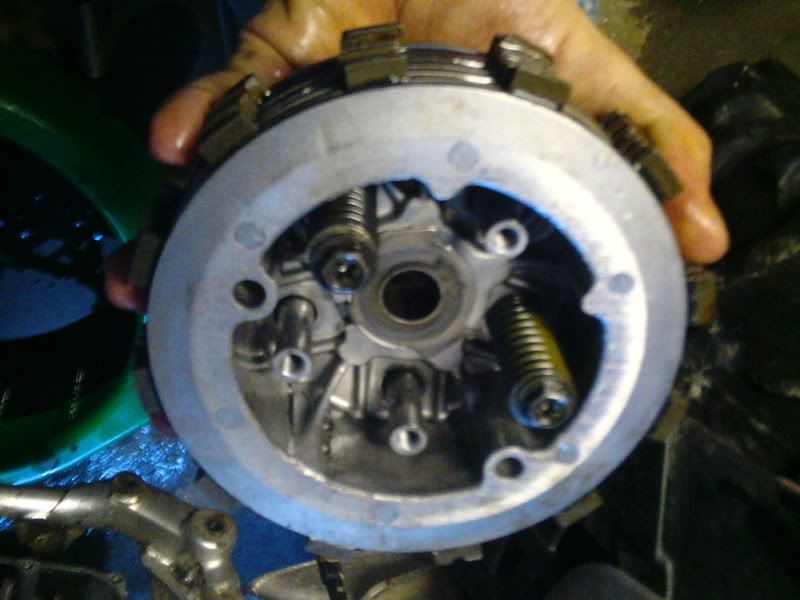
Once all the plates have been lined up and the pressure plate is fully seated on the shaft, remove the bolts and the springs previously installed. Now replace the locking tab washer with a new one and install the clutch boss nut. Again here i recommend the use of an impact gun. Finnaly bend up the tabs on the washer to lock the nut in place.
Next reinstall the springs, clutch release plate and bearing. As with disassembly tighten the bolts evenly a little at a time so that nothing is damaged.
At this point all the internal engine work is complete. Clean the mating surfaces of the case and the clutch cover and install a new gasket. Install the cover and reconnect oil cooler lines if nessasary. Reinstall the clutch cable and adjust the freeplay to spec.
Lastly fill the engine with oil and go out and ride so you can test out your new clutch! :atv:
Before starting you should put the new friction plates in an oil bath and let them soak for atleast 15-20min. I used the bottom half of a gallon of milk which was the perfect size and filled it with about a quart of fresh oil. Any container of suitable size would work for this purpose.
Next drain the engine oil. Since you'll be draining it anyway now would be a good time to change the oil and filter.
Inorder to get to the clutch cover the footpeg, heel guard, and brake lever need to be removed.
Next the clutch cable needs to be removed. Also if you have the clutch cover style oil cooler mod its would be a good idea to disconnect the lines to make the job a little easier.
Next remove the 8mm bolts around that hold the clutch cover on. Two of these bolts will be different than the rest, so take note of where they came from. Once all the bolts have been removed you can remove the cover by prying it off the engine with a screwdriver or pry bar. There are several places along the edge of the cover that are cast larger than they need to be to make this process easier. Just be carefull not to damage the mating surfaces of the cover and the engine case.
Once removed this is what you'll see.
Now you can start disassembling the clutch assembly. Remove the five 10mm bolts holding in the release plate in the center of the clutch basket. Its important that the bolts be loosened evenly by working in a star pattern, backing each bolt off a little at a time untill they all have been completely removed. This prevents damage to the clutch basket and springs. Be careful when removing the plate as the clutch release bearing in the center is held in with an oring and tends to pop out as the bolts are removed.
At this point these should be the parts removed.
Next remove the clutch springs. If you are planning on reusing them check to make sure that they are within spec. If the springs are worn now is not the time to save money because more than likely they will cause your new clutch to wear out prematurely.
Next bend back the retainging tabs and remove the 30mm clutch boss nut. I would highly recommend the use of an impact gun for this otherwise you will need to make or purchase some type of clutch holder.
Now you can remove the outer pressure plate followed by the clutch plates and the inner pressure plate. Try not to mix up the order of the plates as it should be assembled in the same order as it was taken apart.
At this point this is how it should look.
Outer Pressure Plate
Inner Pressure Plate
Next seperate the old friction plates from the steel plates keeping the steels in the order they were removed. The old friction plates can be set aside and discarded. Note that there are two spring plates that are located within the pack.
Now its time to assemble the clutch pack. Start with the outer pressure plate and stack the friction and steel plates in the correct order onto it. If you are planning on adding an extra steel plate now is the time to do it.
After all the plates are on the outer pressure plate install the inner pressure plate onto the assembly. Make sure that it can seat fully against the clutch plates as it only fits together one way.
The assembly should now look like this. Note the extra steel plate in the pack.
Now comes the fun part. Alighning all the friction plates into the clutch basket without having the steel plates fall off the pressure plate. I find it easiest to loosely install two of the springs along with bolts. This keeps the pack from falling apart but allows you to move the plates to line up with the clutch basket and the center shaft with the splines on the pressure plate.
Once all the plates have been lined up and the pressure plate is fully seated on the shaft, remove the bolts and the springs previously installed. Now replace the locking tab washer with a new one and install the clutch boss nut. Again here i recommend the use of an impact gun. Finnaly bend up the tabs on the washer to lock the nut in place.
Next reinstall the springs, clutch release plate and bearing. As with disassembly tighten the bolts evenly a little at a time so that nothing is damaged.
At this point all the internal engine work is complete. Clean the mating surfaces of the case and the clutch cover and install a new gasket. Install the cover and reconnect oil cooler lines if nessasary. Reinstall the clutch cable and adjust the freeplay to spec.
Lastly fill the engine with oil and go out and ride so you can test out your new clutch! :atv: